Klaviyo
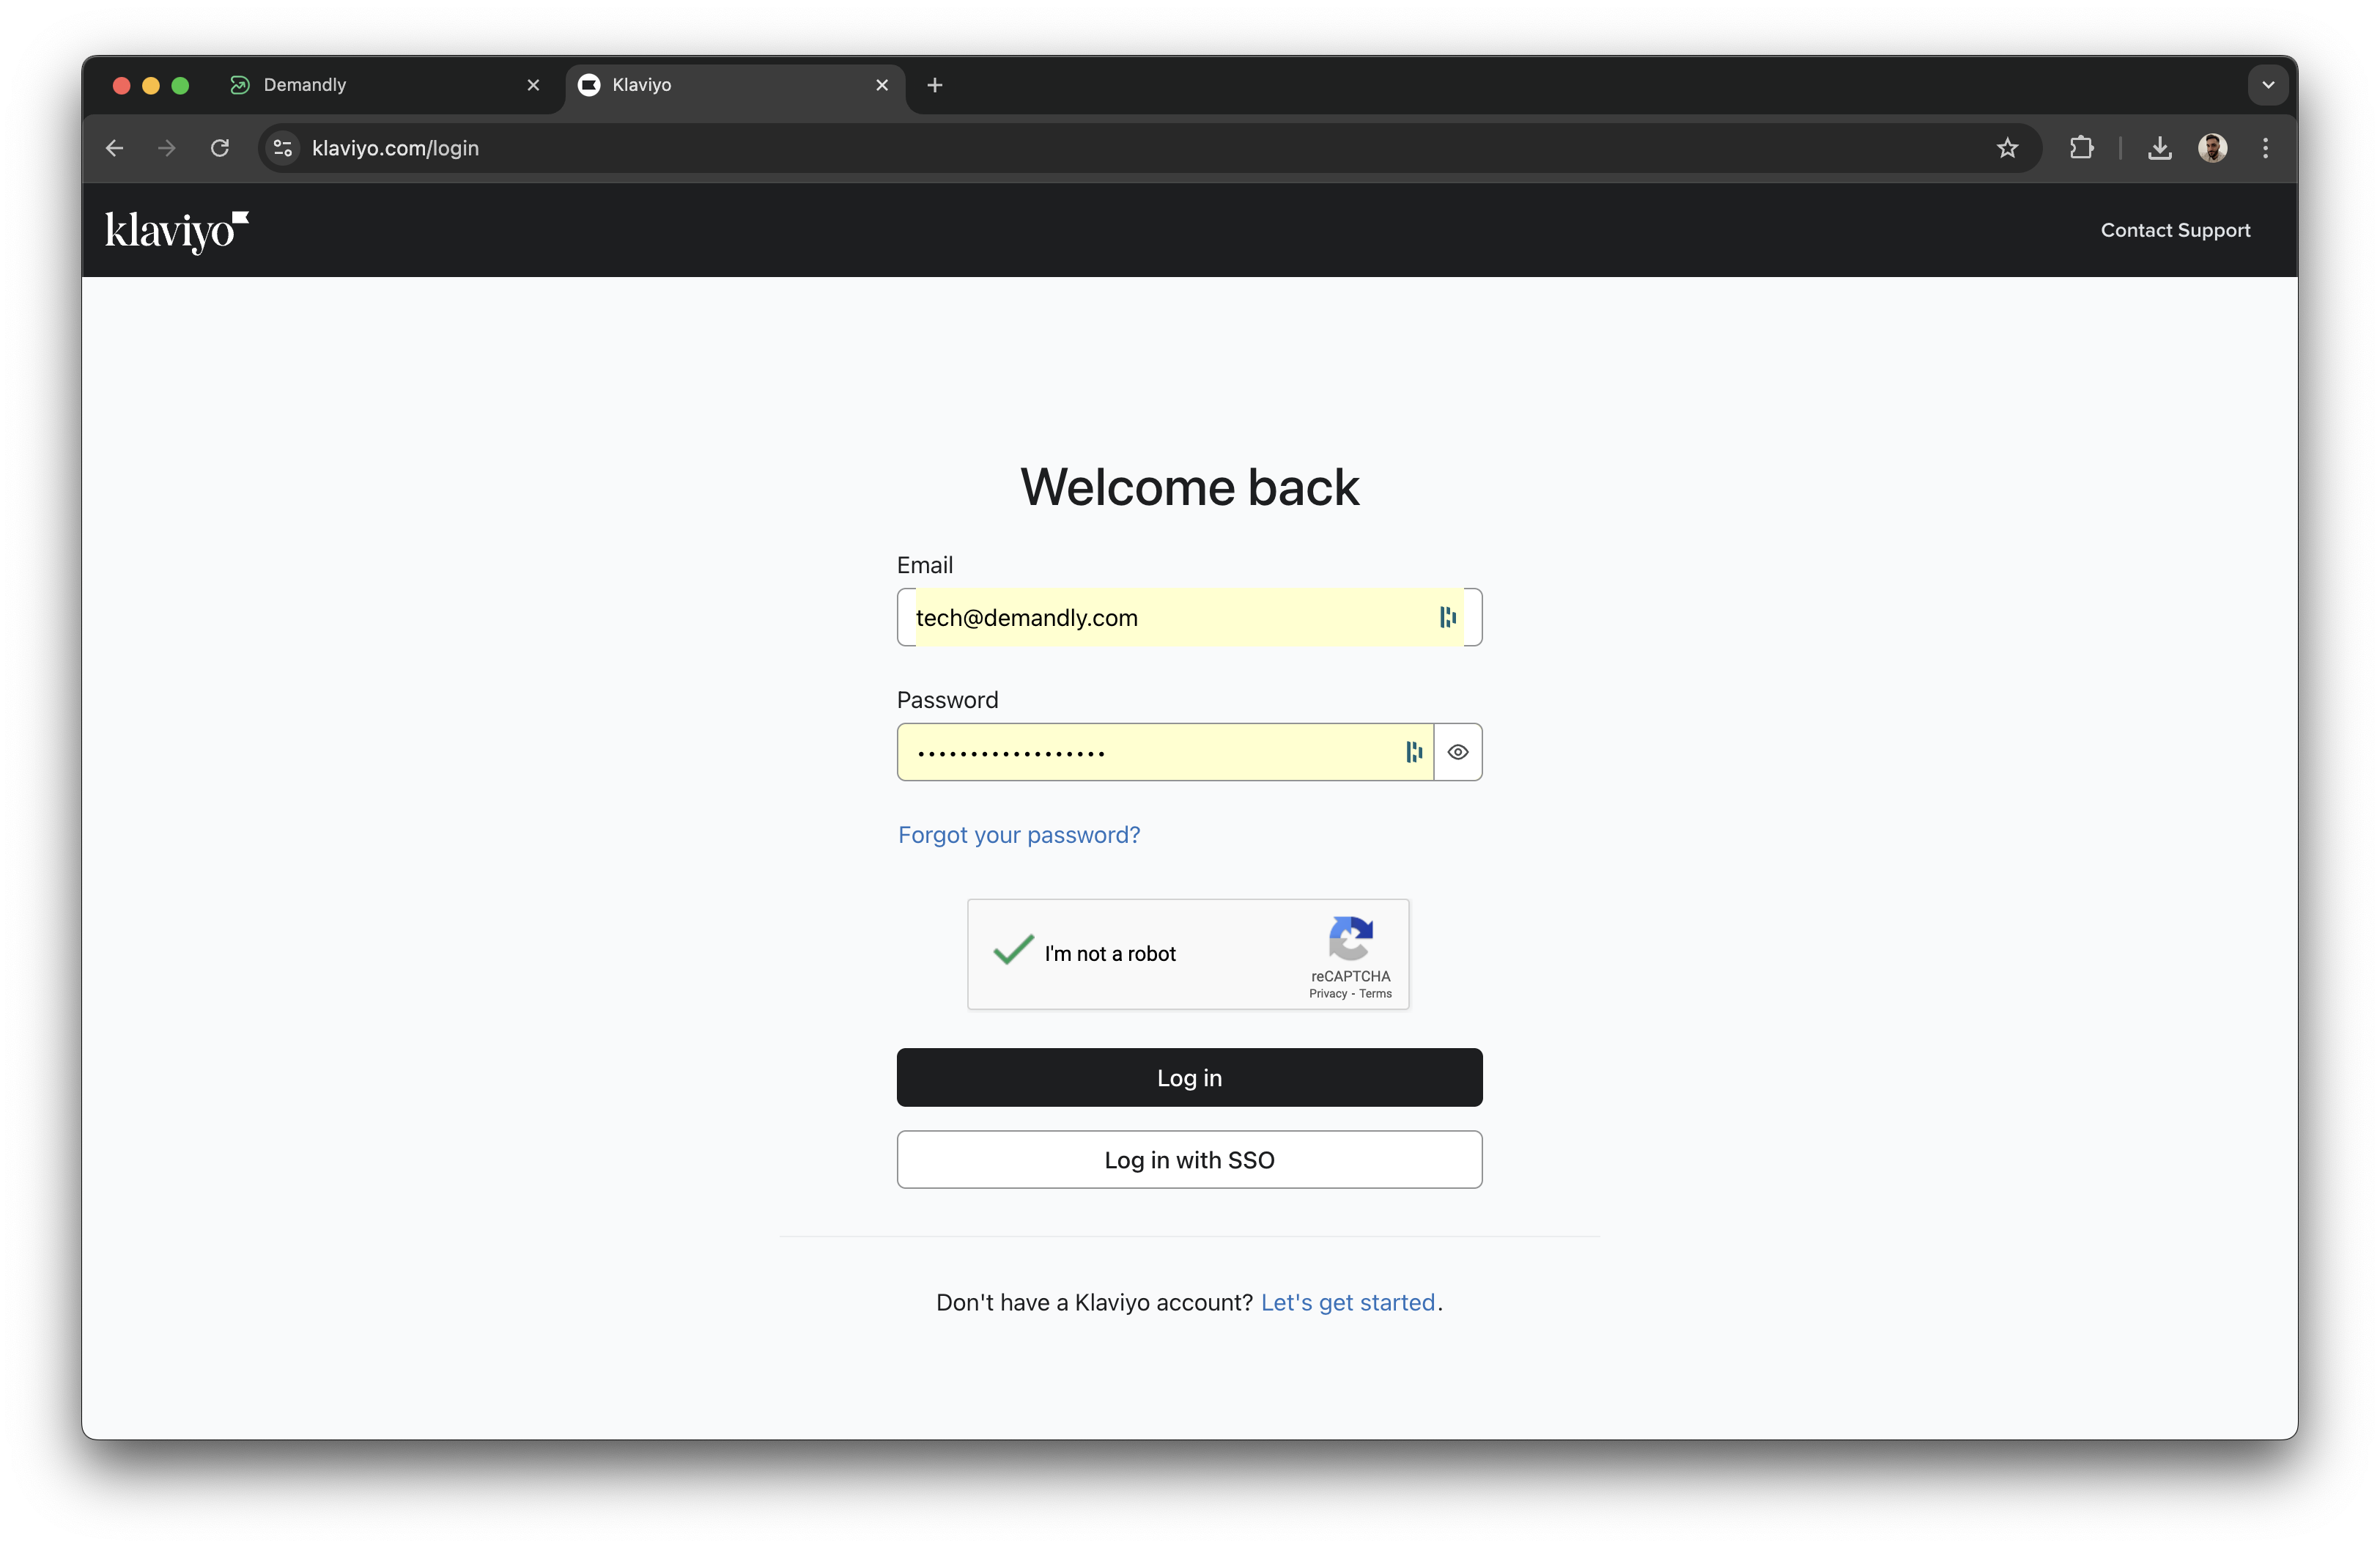
Step 1: Login to Klaviyo
Visit the http://klaviyo.com/login in a new tab and proceed to sign in to your account
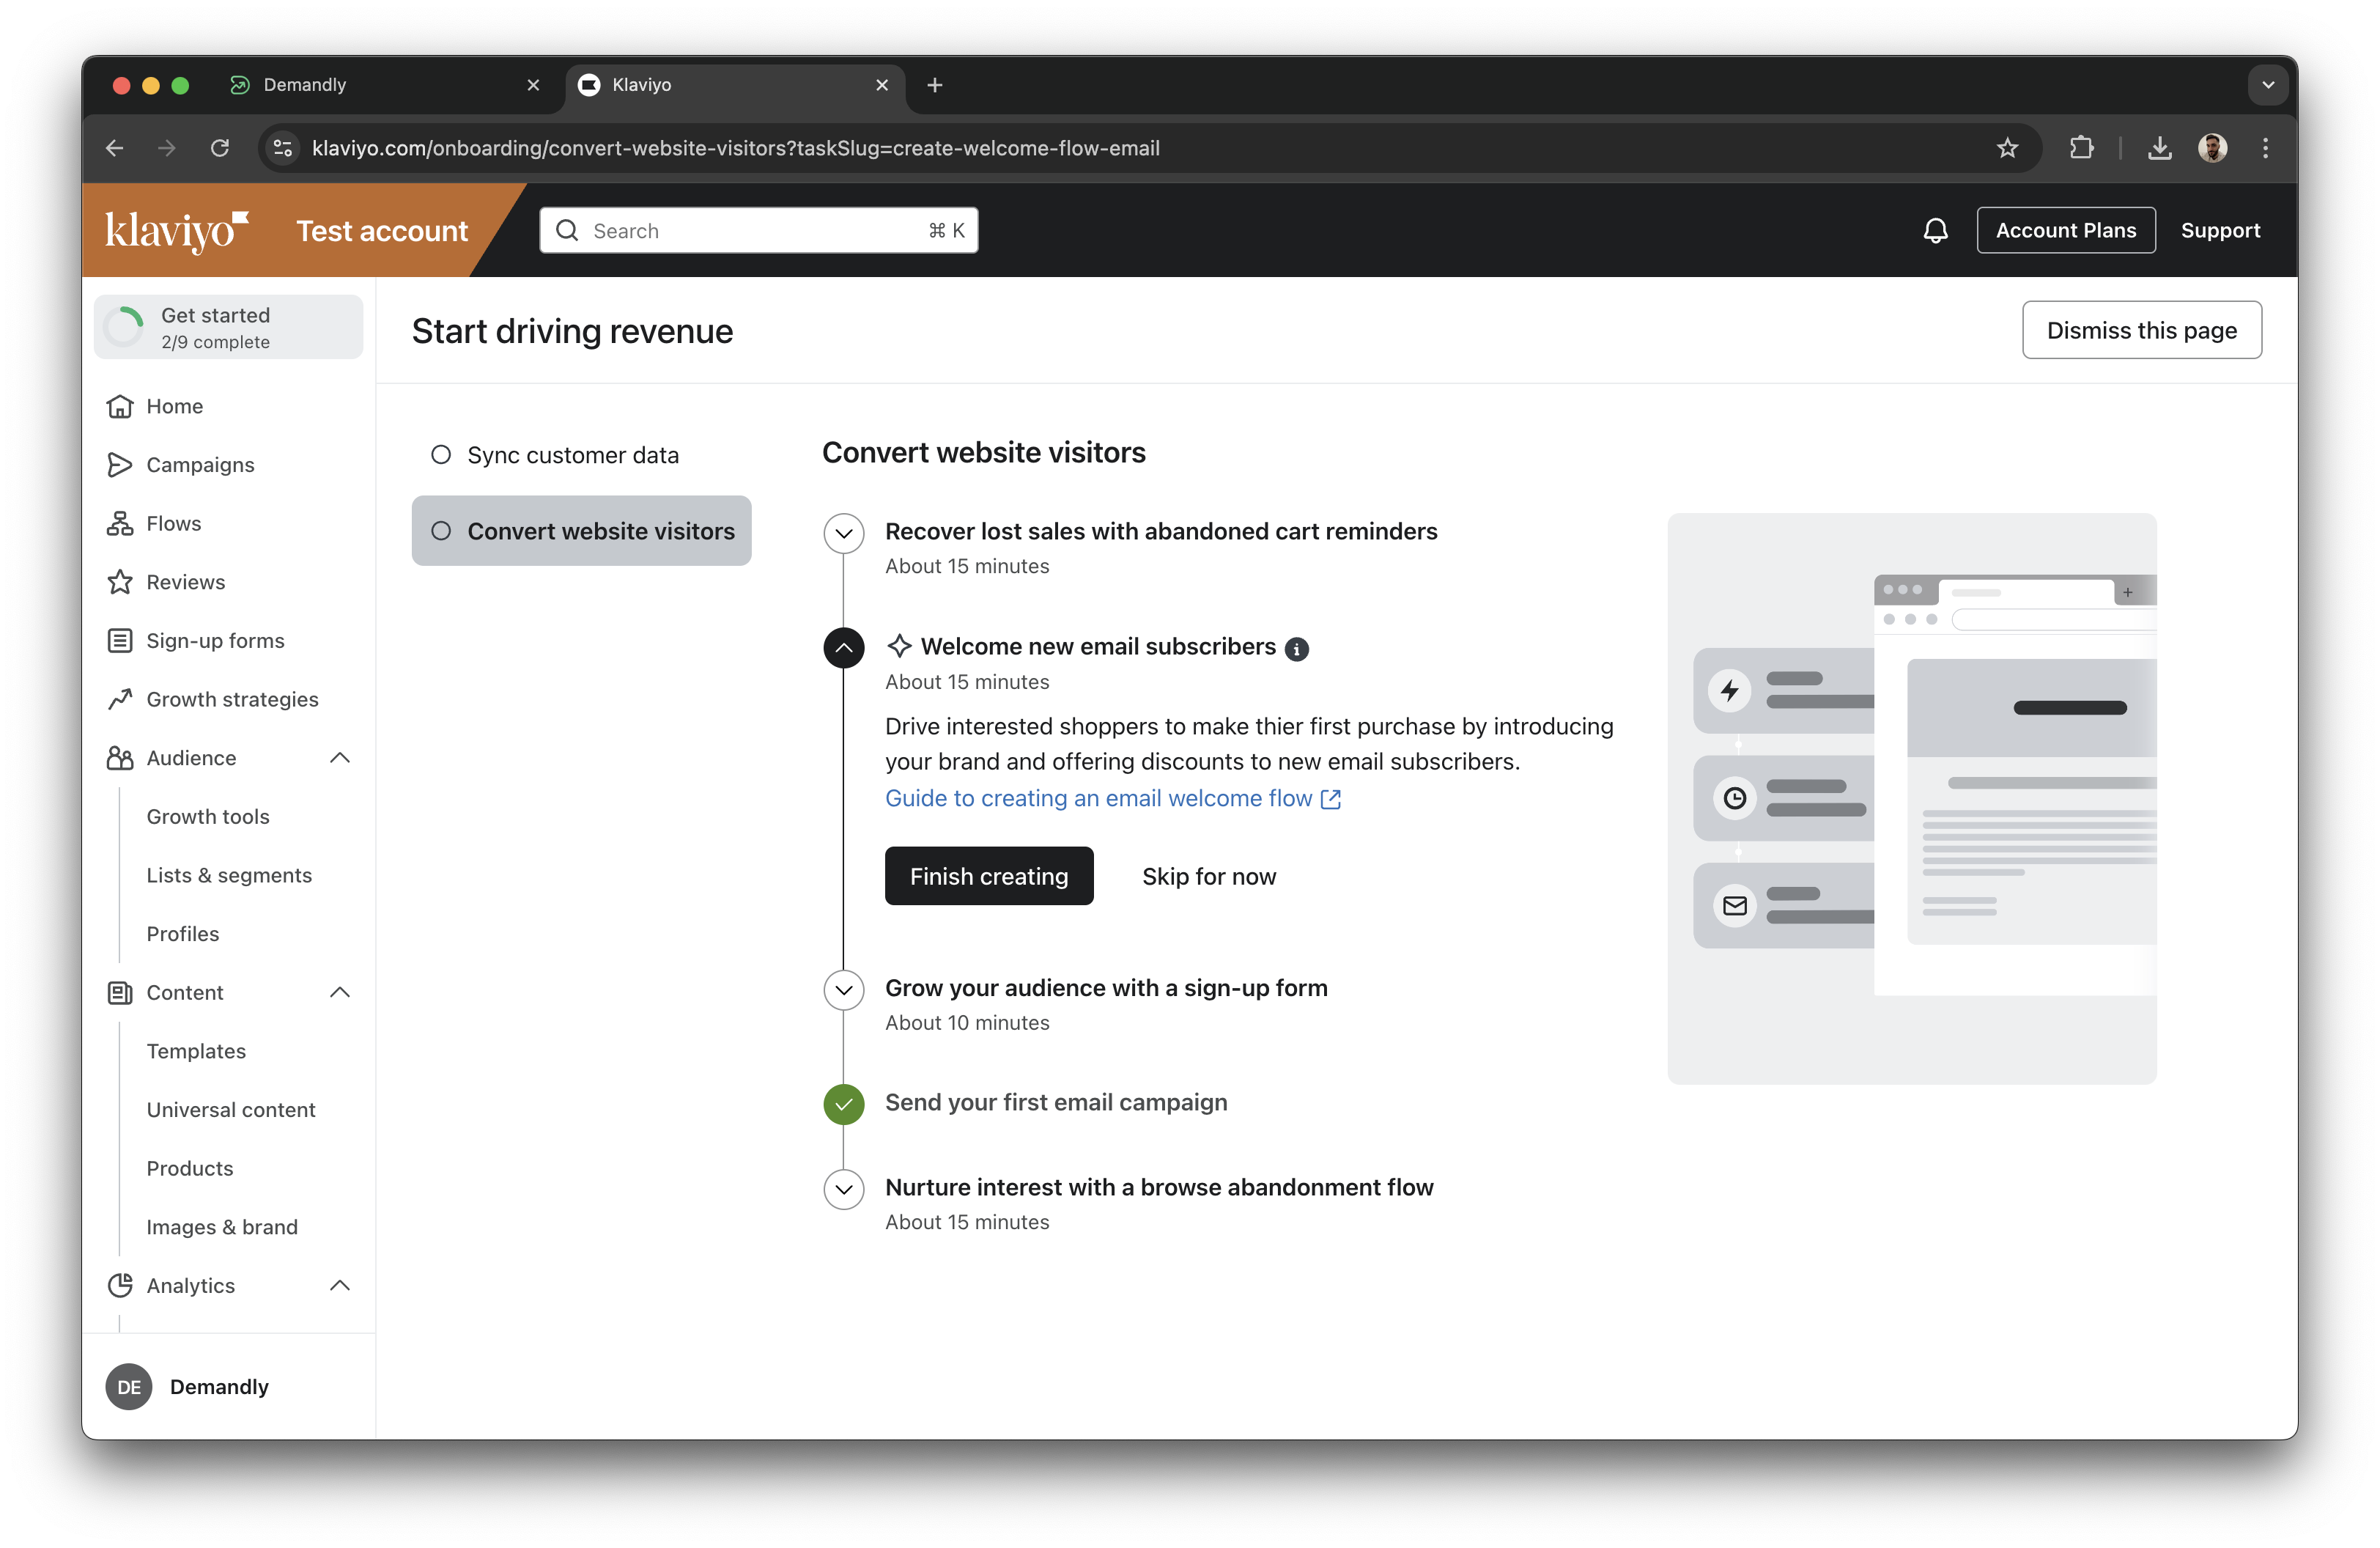
Step 2: Click on your Business Name
-
Find your company name in the bottom left corner of the screen and “click on it” to open the organisation menu.
-
Click on the “Settings” tab in the newly opened menu
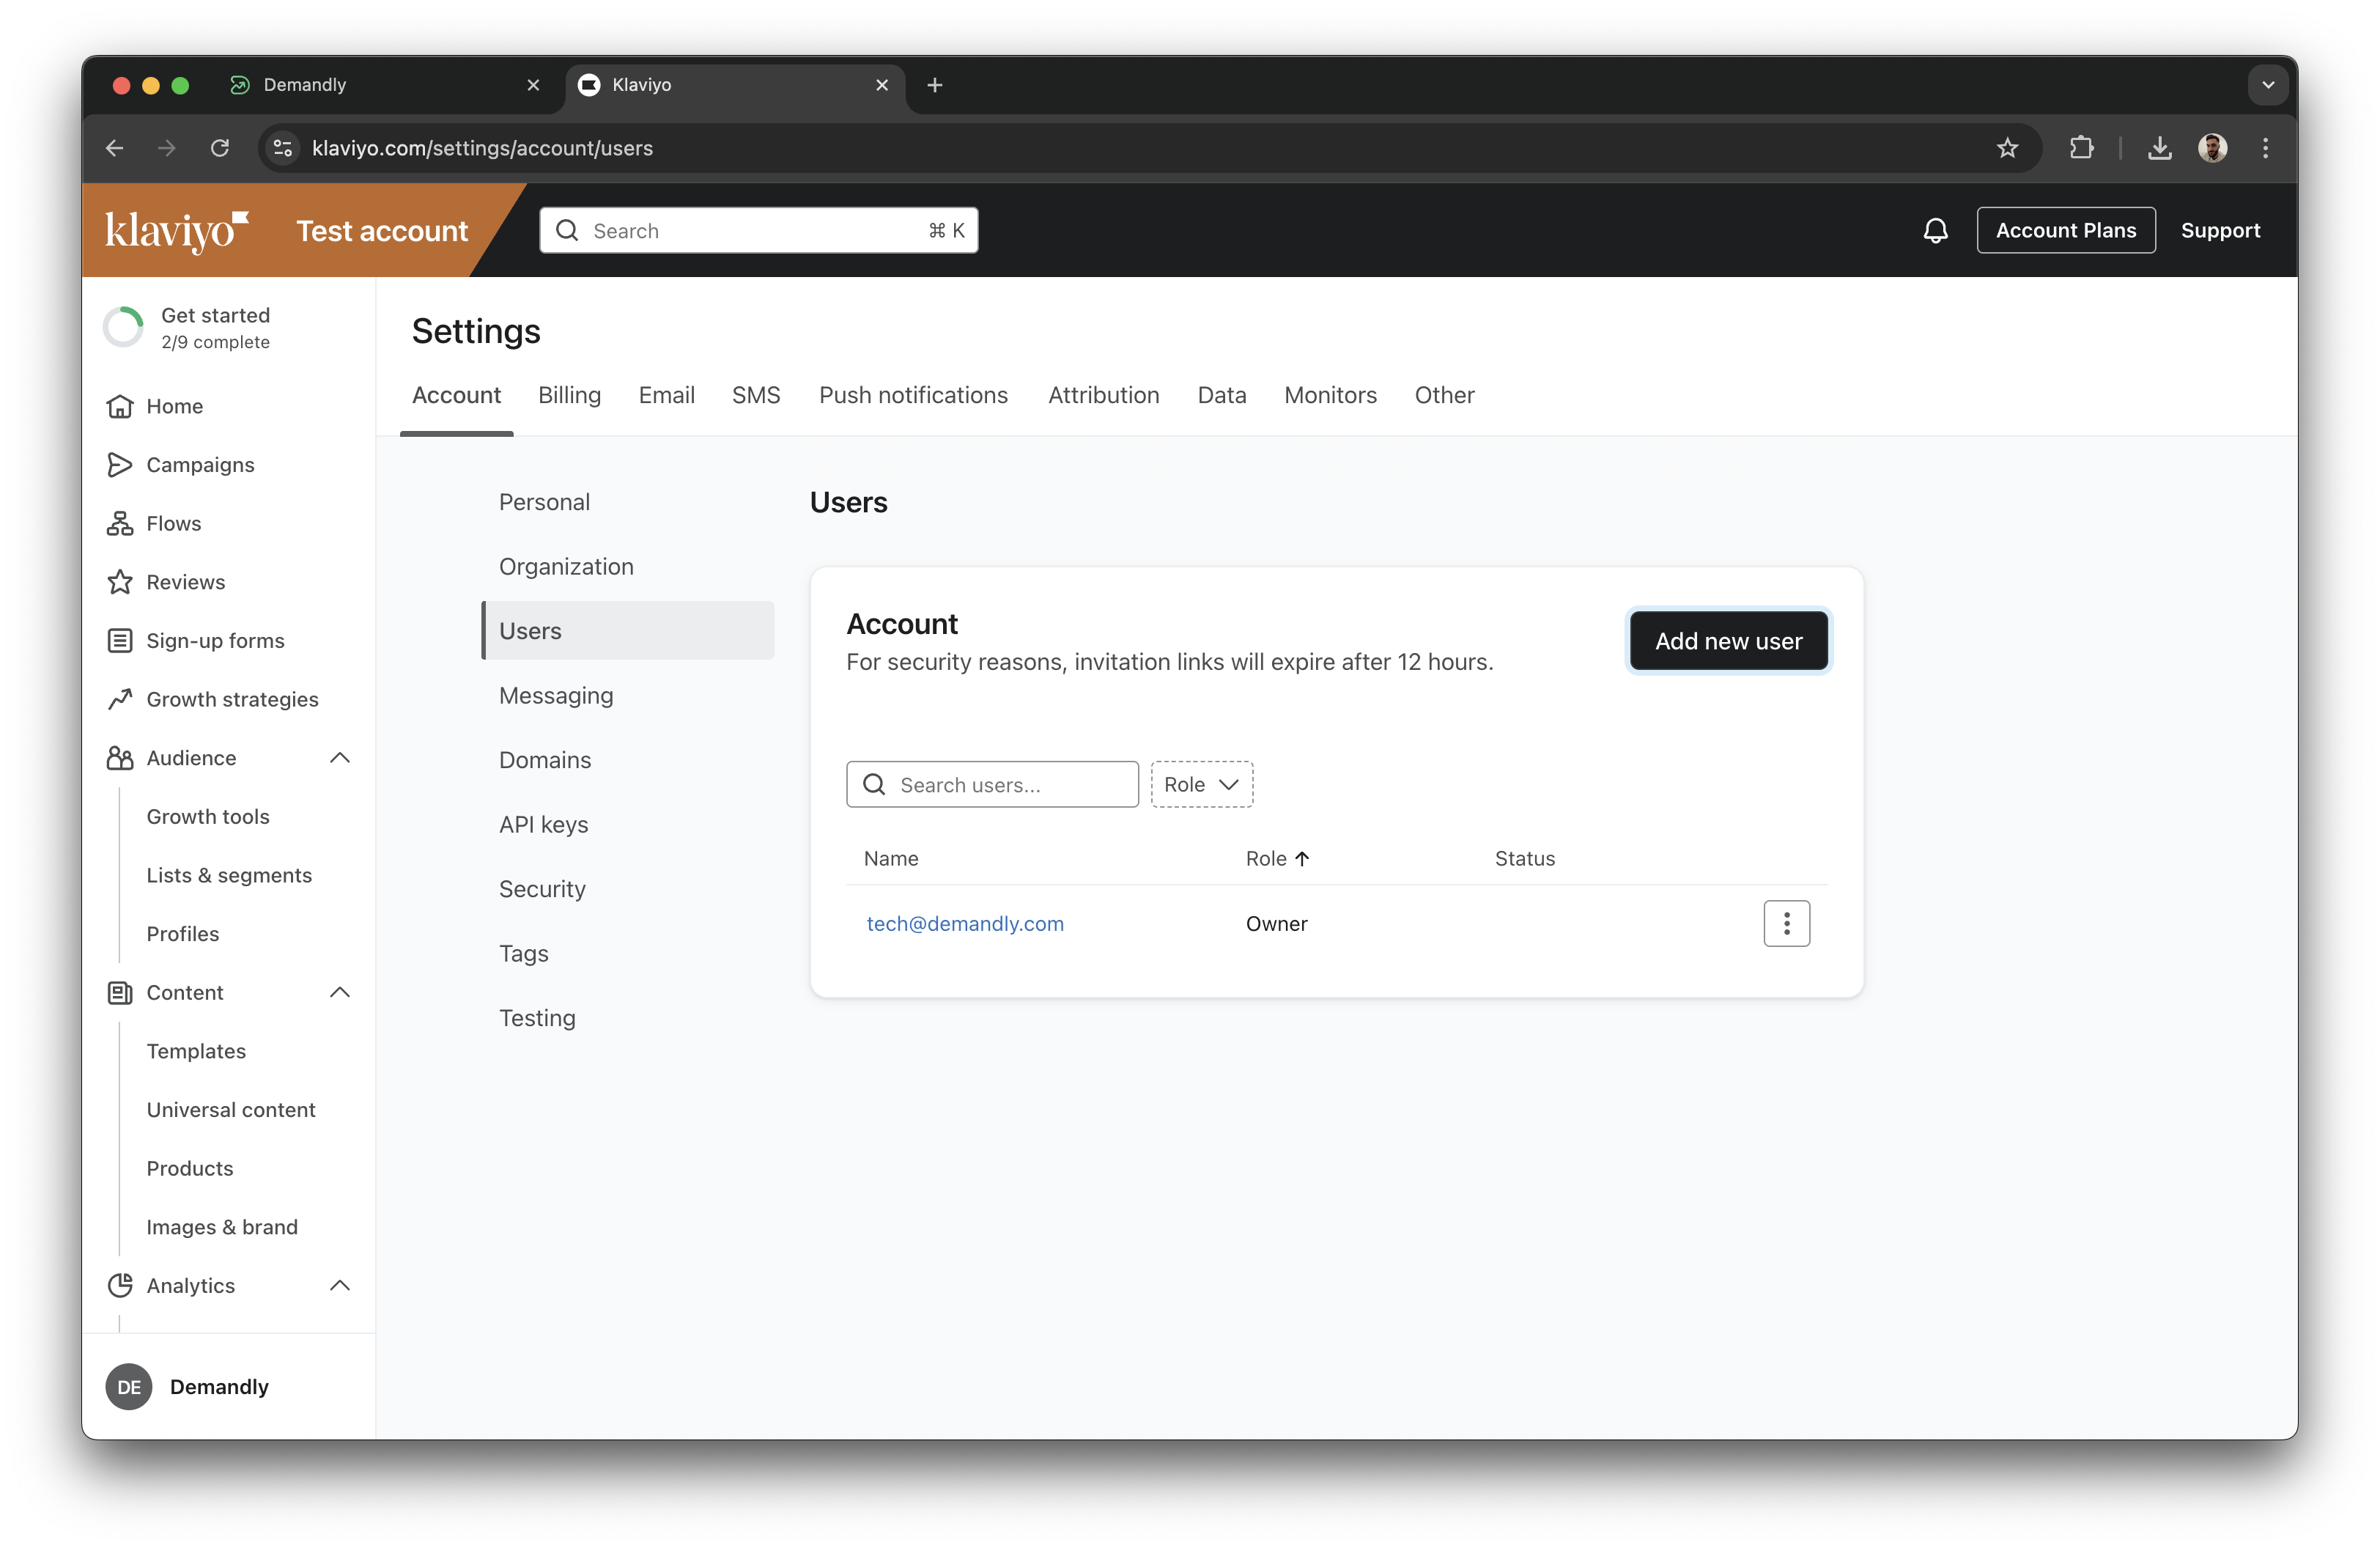
Step 3: Add a new User
-
In the side menu click on the “Users” option
-
Select the “Add New User” button to create a dedicated integration user.
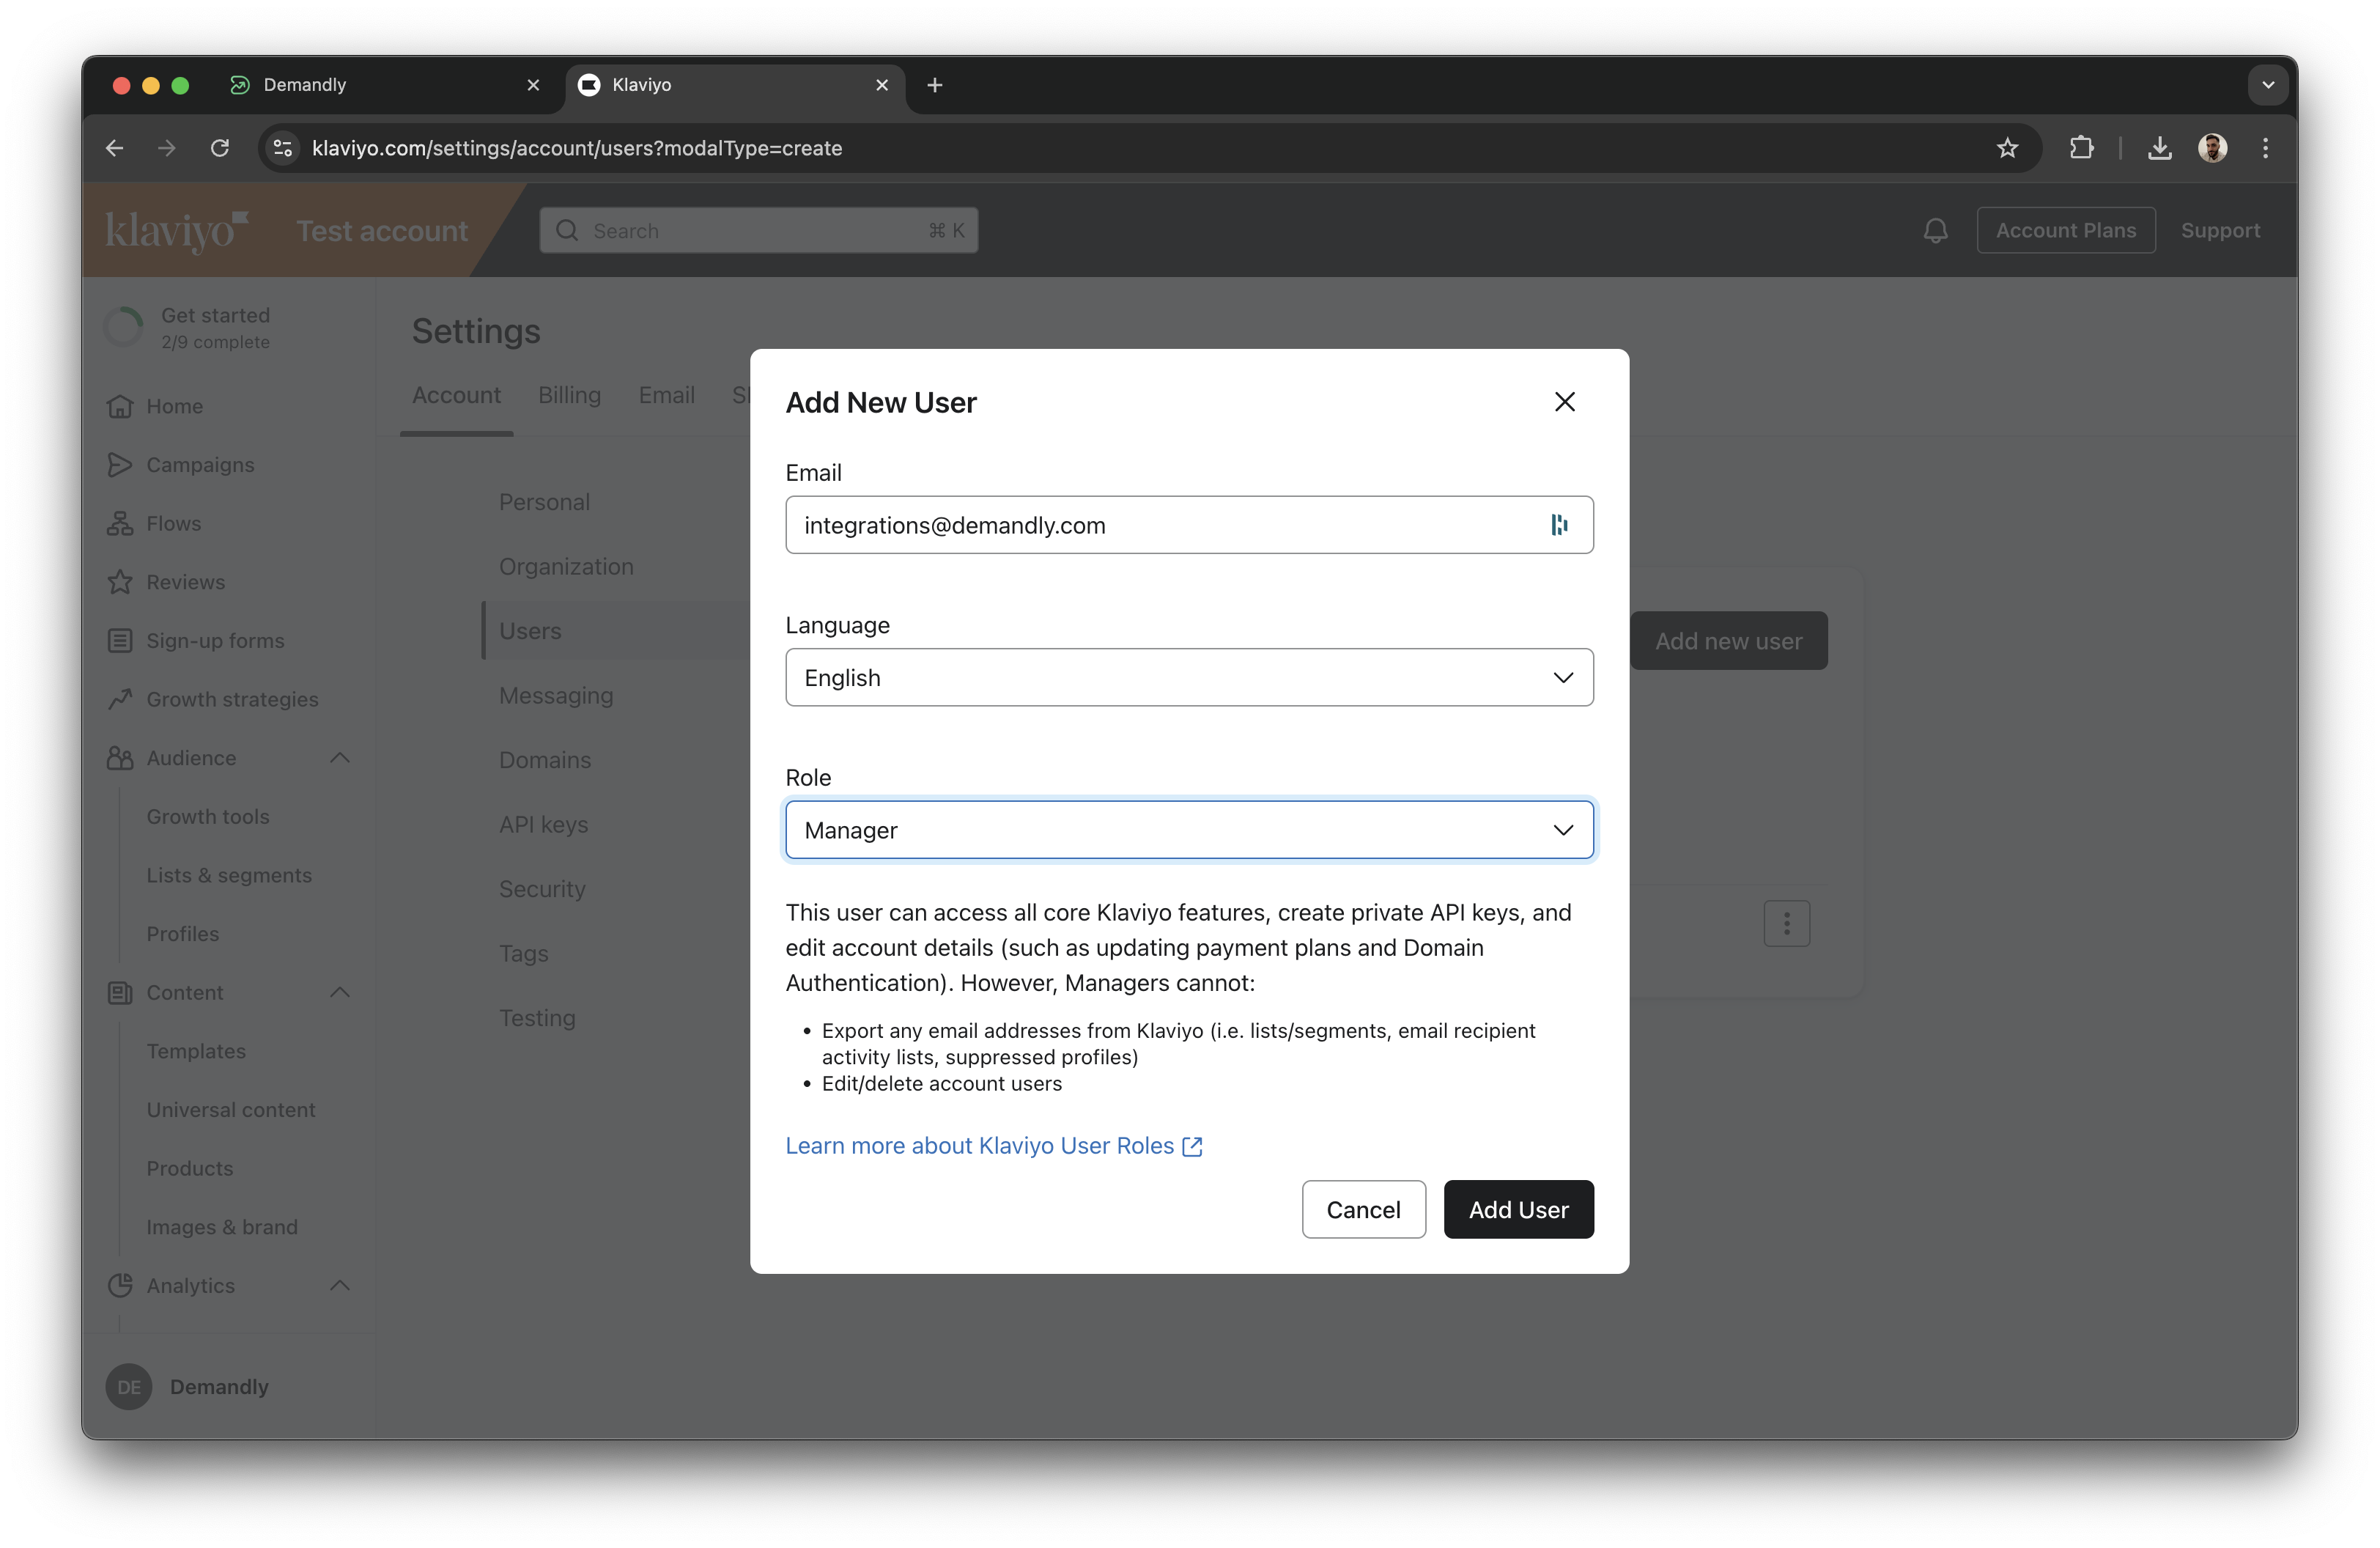
Step 4: Set the User Details
Fill in the user details with:
-
• Email: integrations@demandly.com
-
• Role: Manager Make sure to save these settings.
Step 5: Go back to Demandly and connect
-
Return to the Demandly tab in your browser and click “Connect”
-
When prompted click “Continue”
-
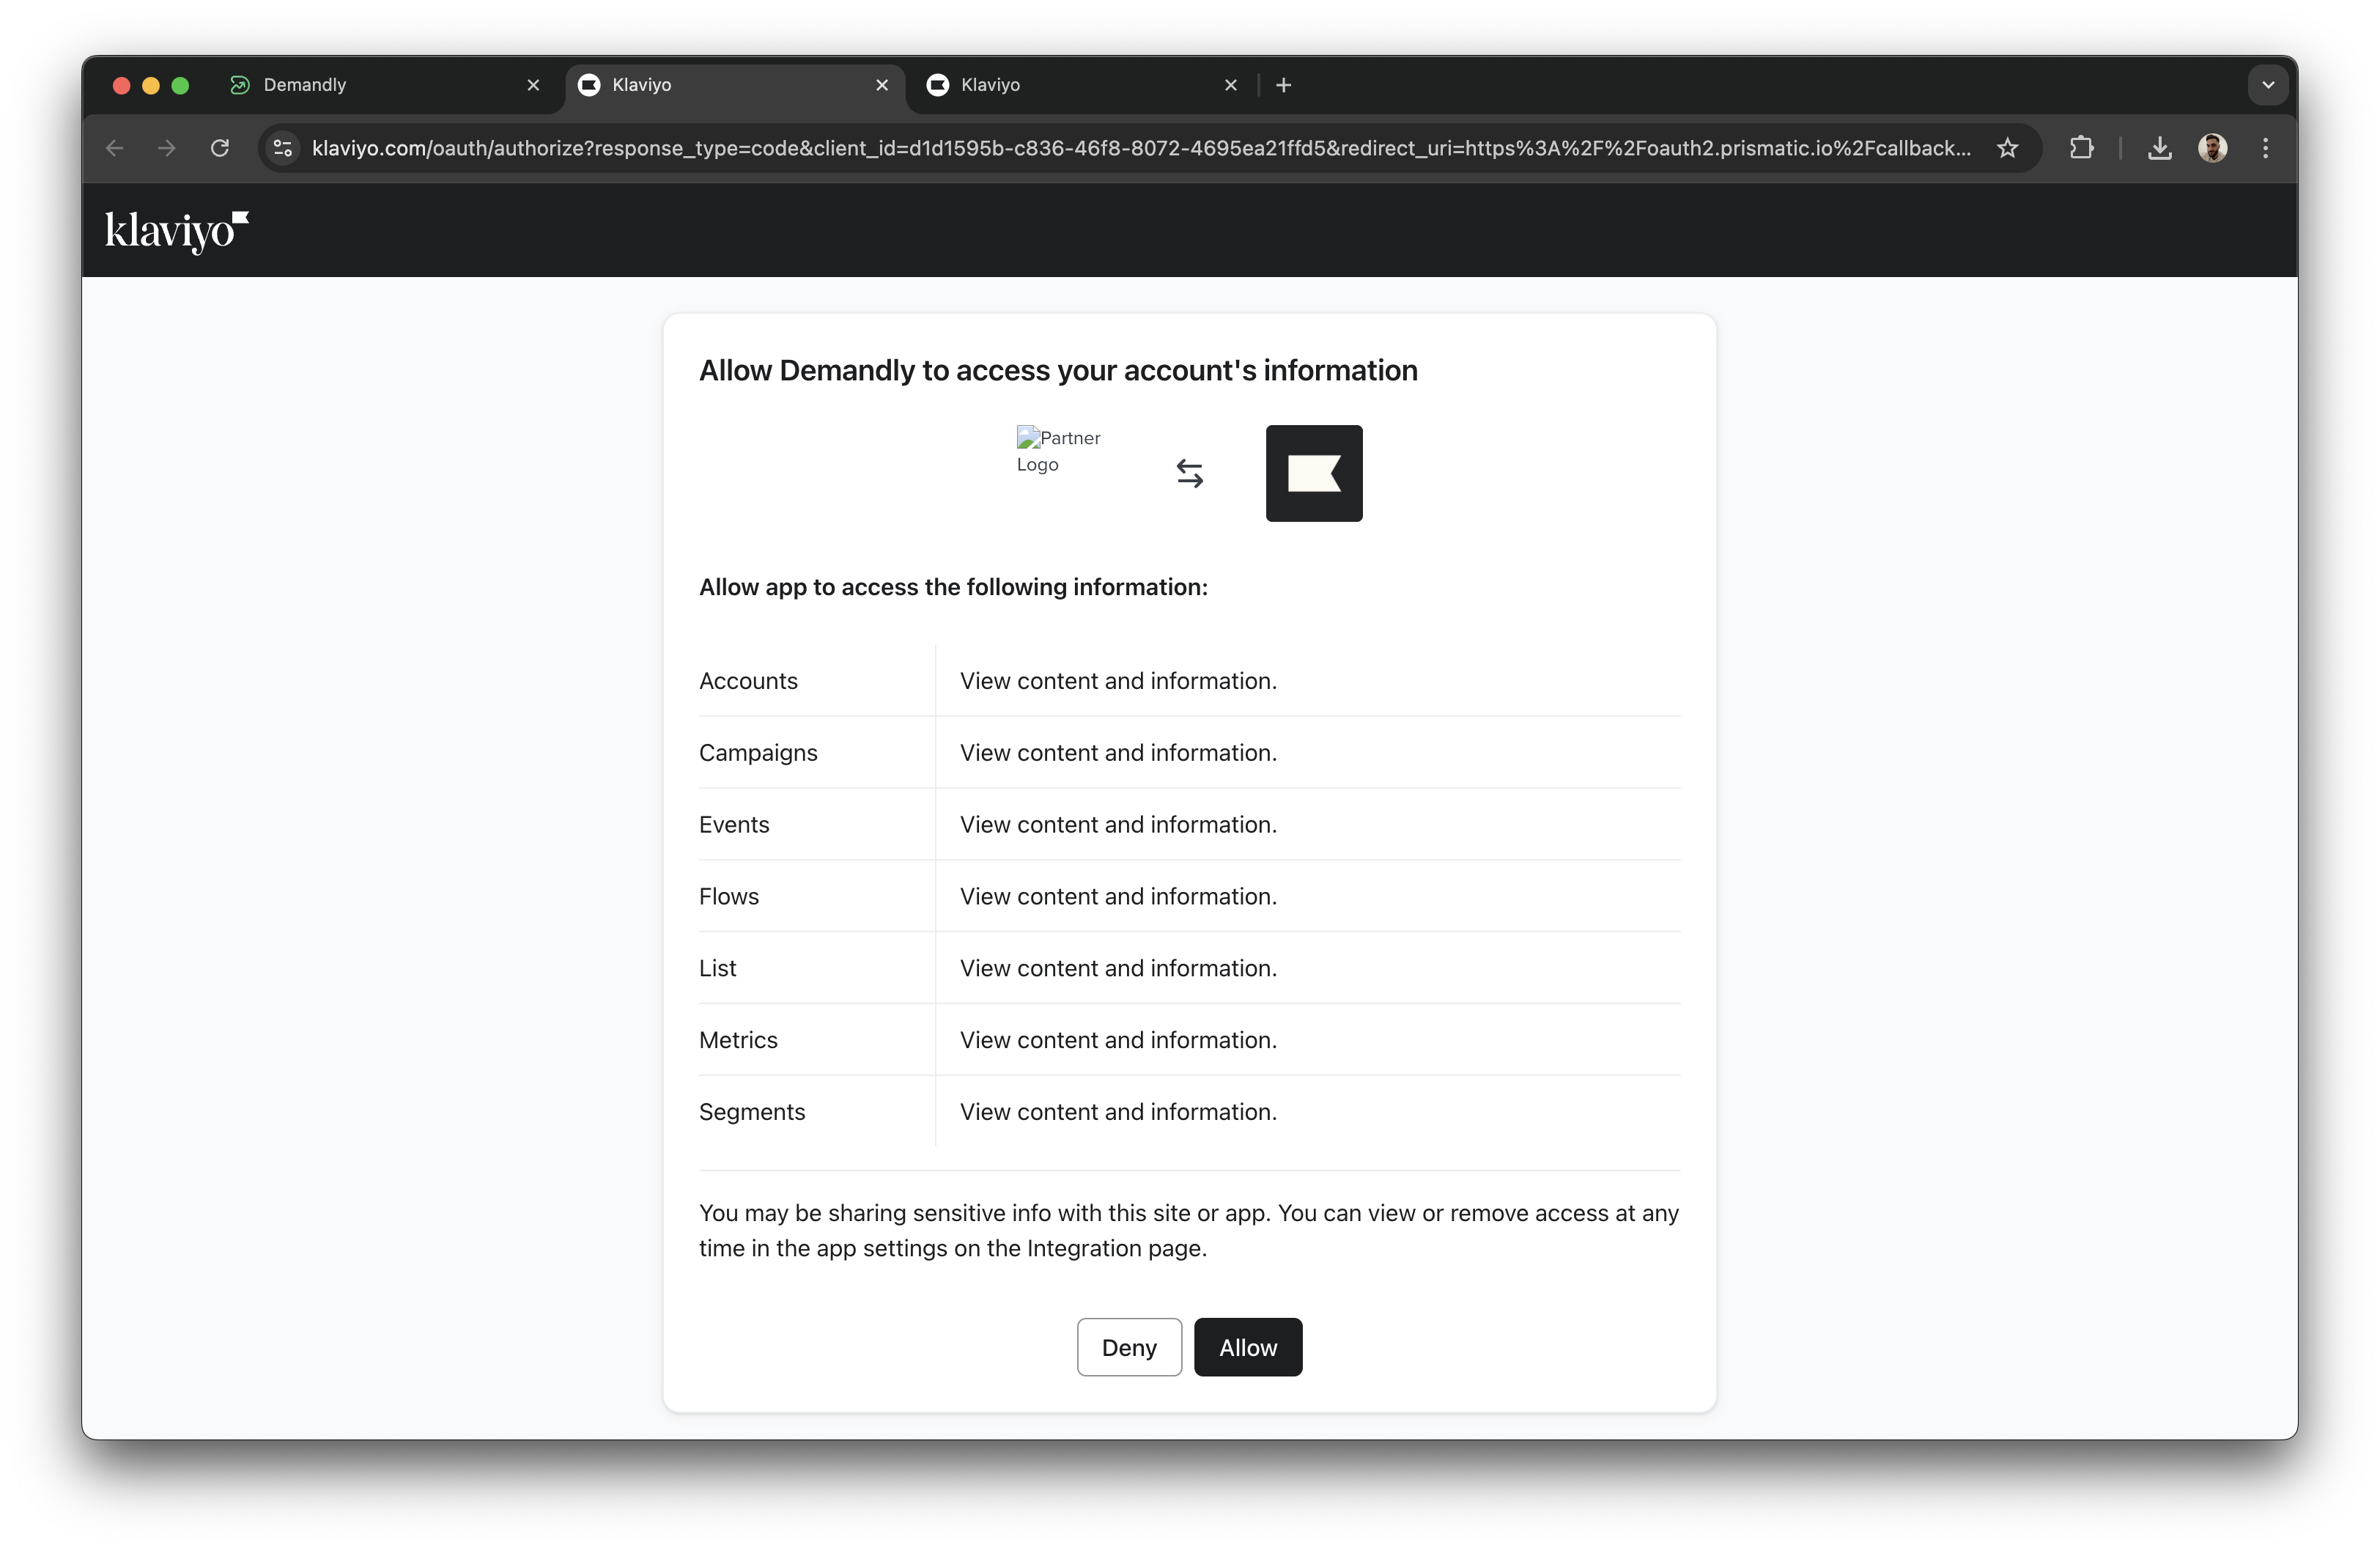
When prompted click “Allow” to authorize the connection between Demandly and Klaviyo
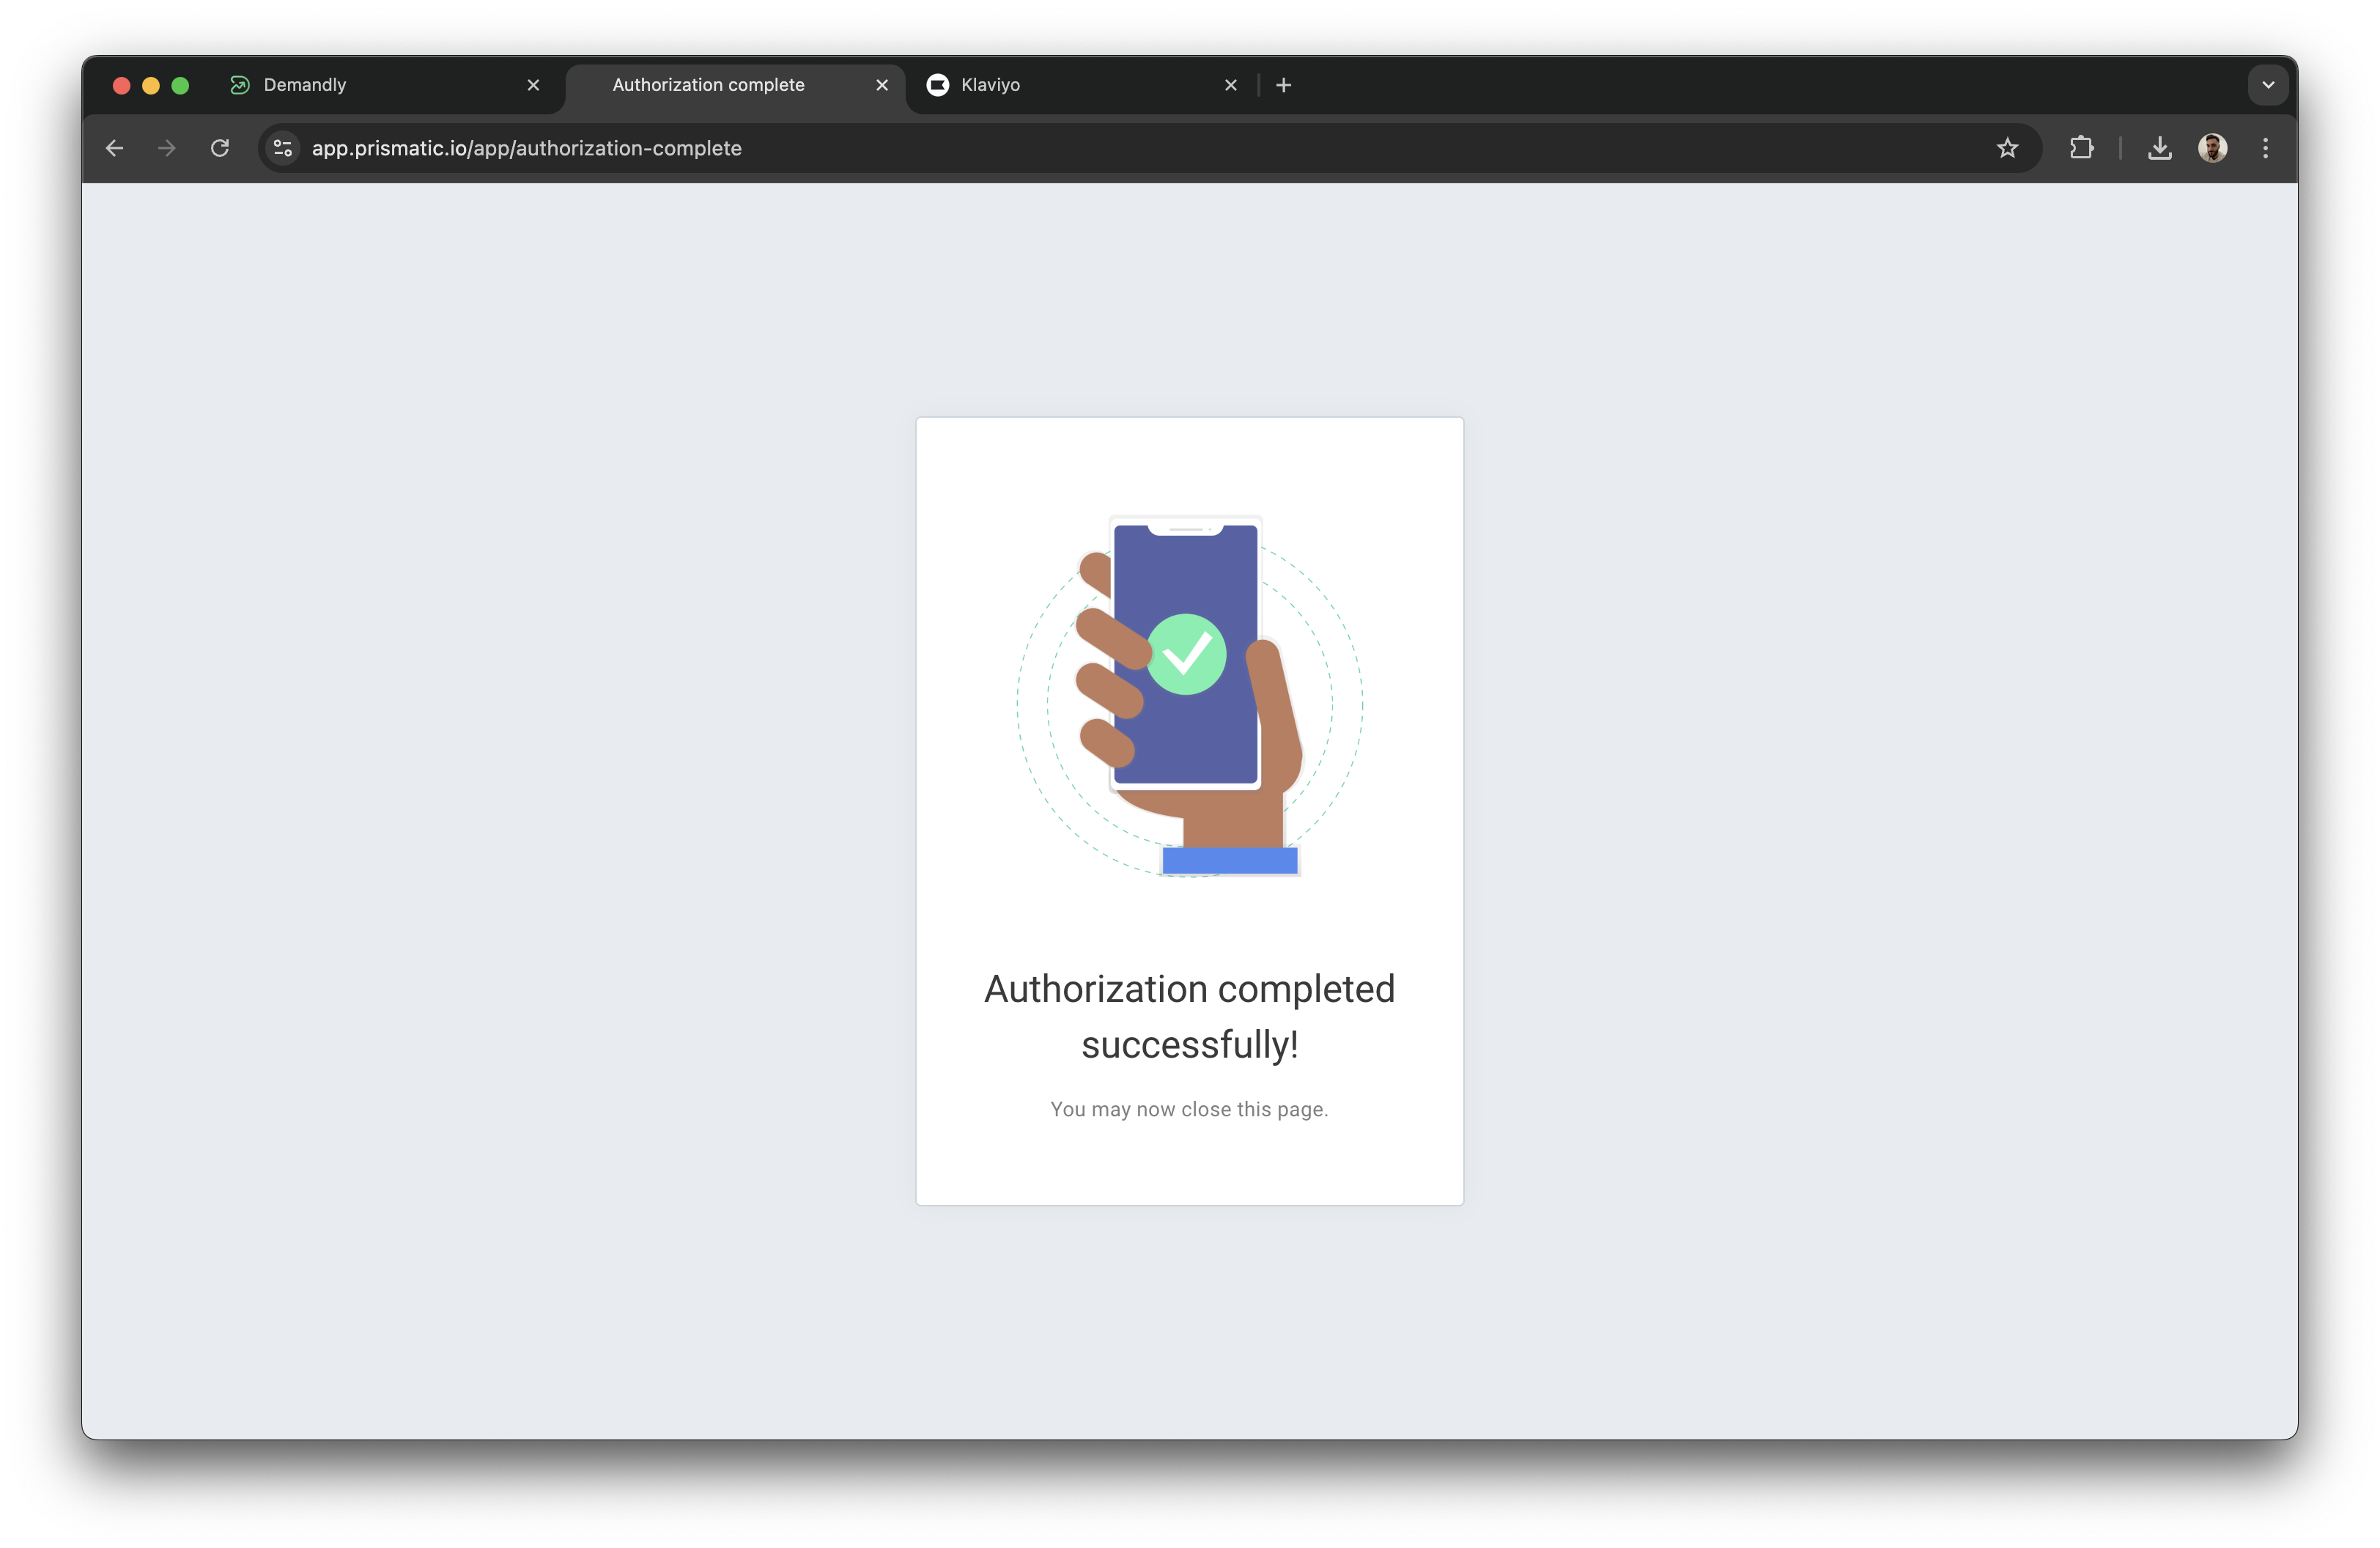
Step 6: Complete Authorization
Once you’ve approved access, you’ll see an “Authorization completed successfully” message with a checkmark icon. You can close this browser tab and return to Demandly.
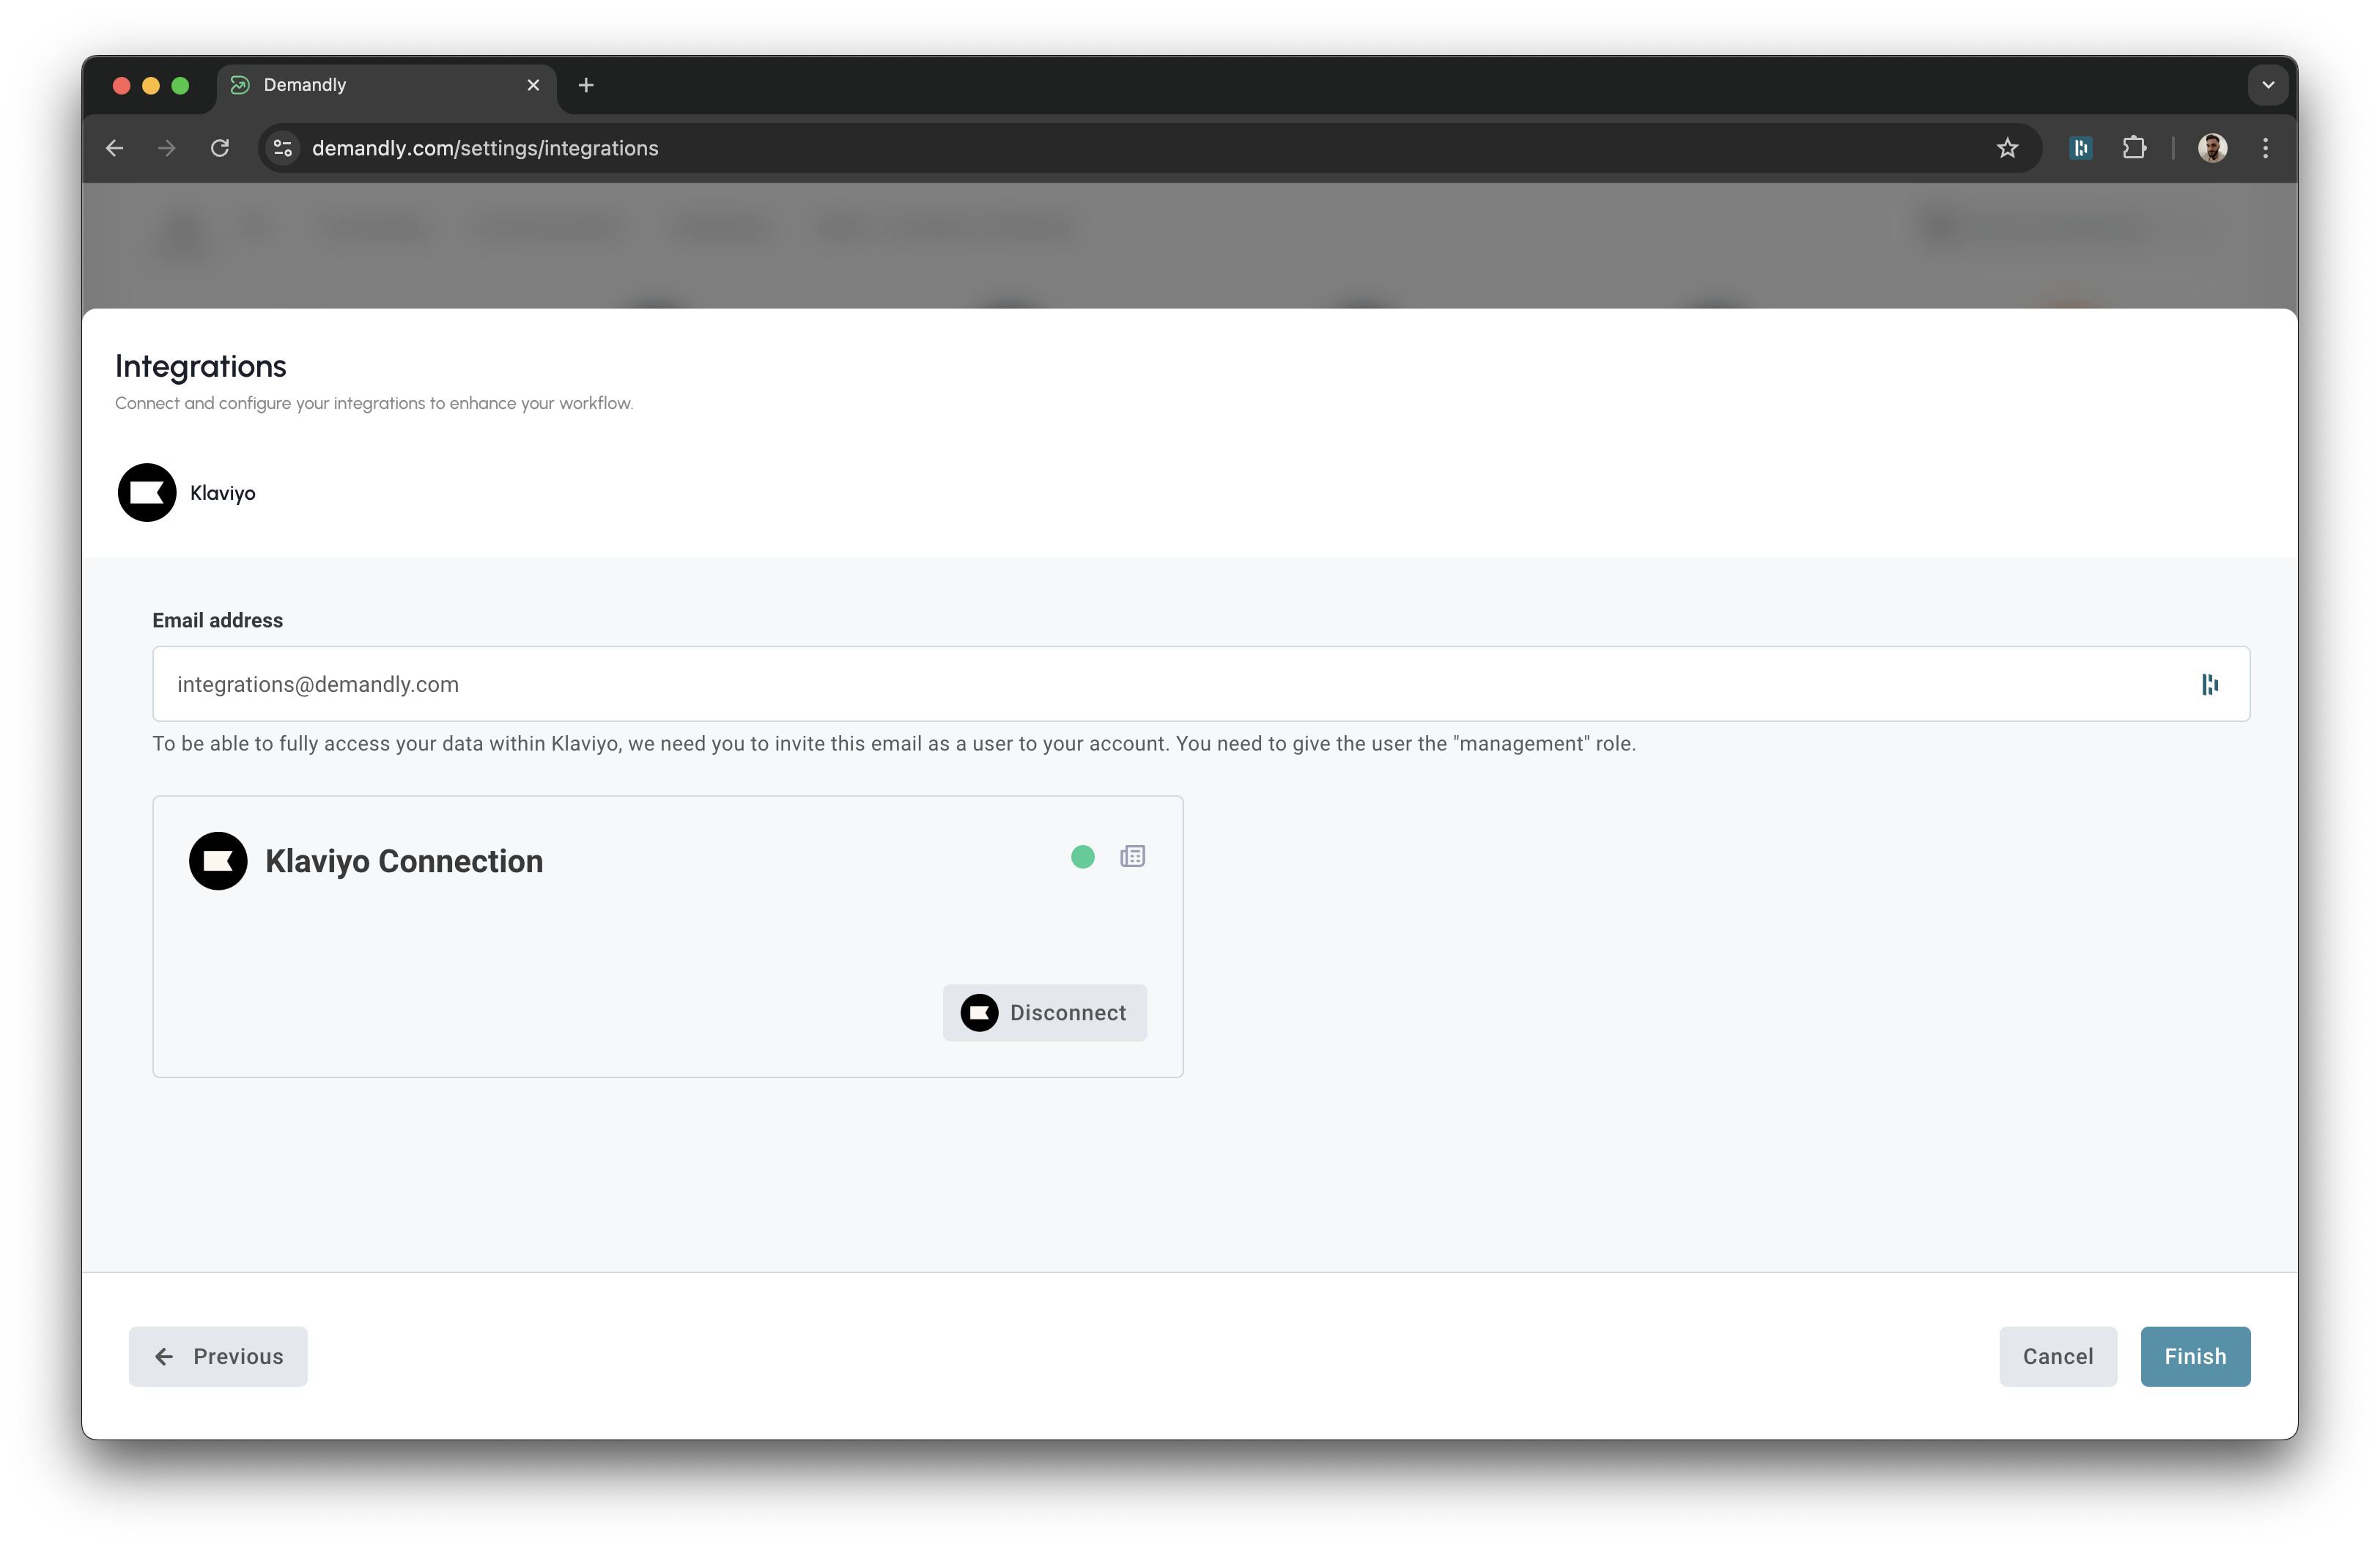
Step 7: Return to Demandly
You can now close down this tab and return to the Demandly tab where you should see that Klaviyo is now connected as evidence by the green active dot. You can now click “Finish”
Step 8: Verify your Integration
You’ll now see a confirmation screen showing your Klaviyo integration status as “Running”. This confirms everything is working properly. Close this window by clicking the X in the top right corner to return to your integrations page.
That’s it! Your Demandly account is now successfully connected to your Klaviyo account.
If you need to make changes to this integration later, you can return to the integrations page and reconfigure or deactivate it as needed.
Need Help?
If you’re experiencing issues with your integration:
- Contact our support team at support@demandly.com