Gmail
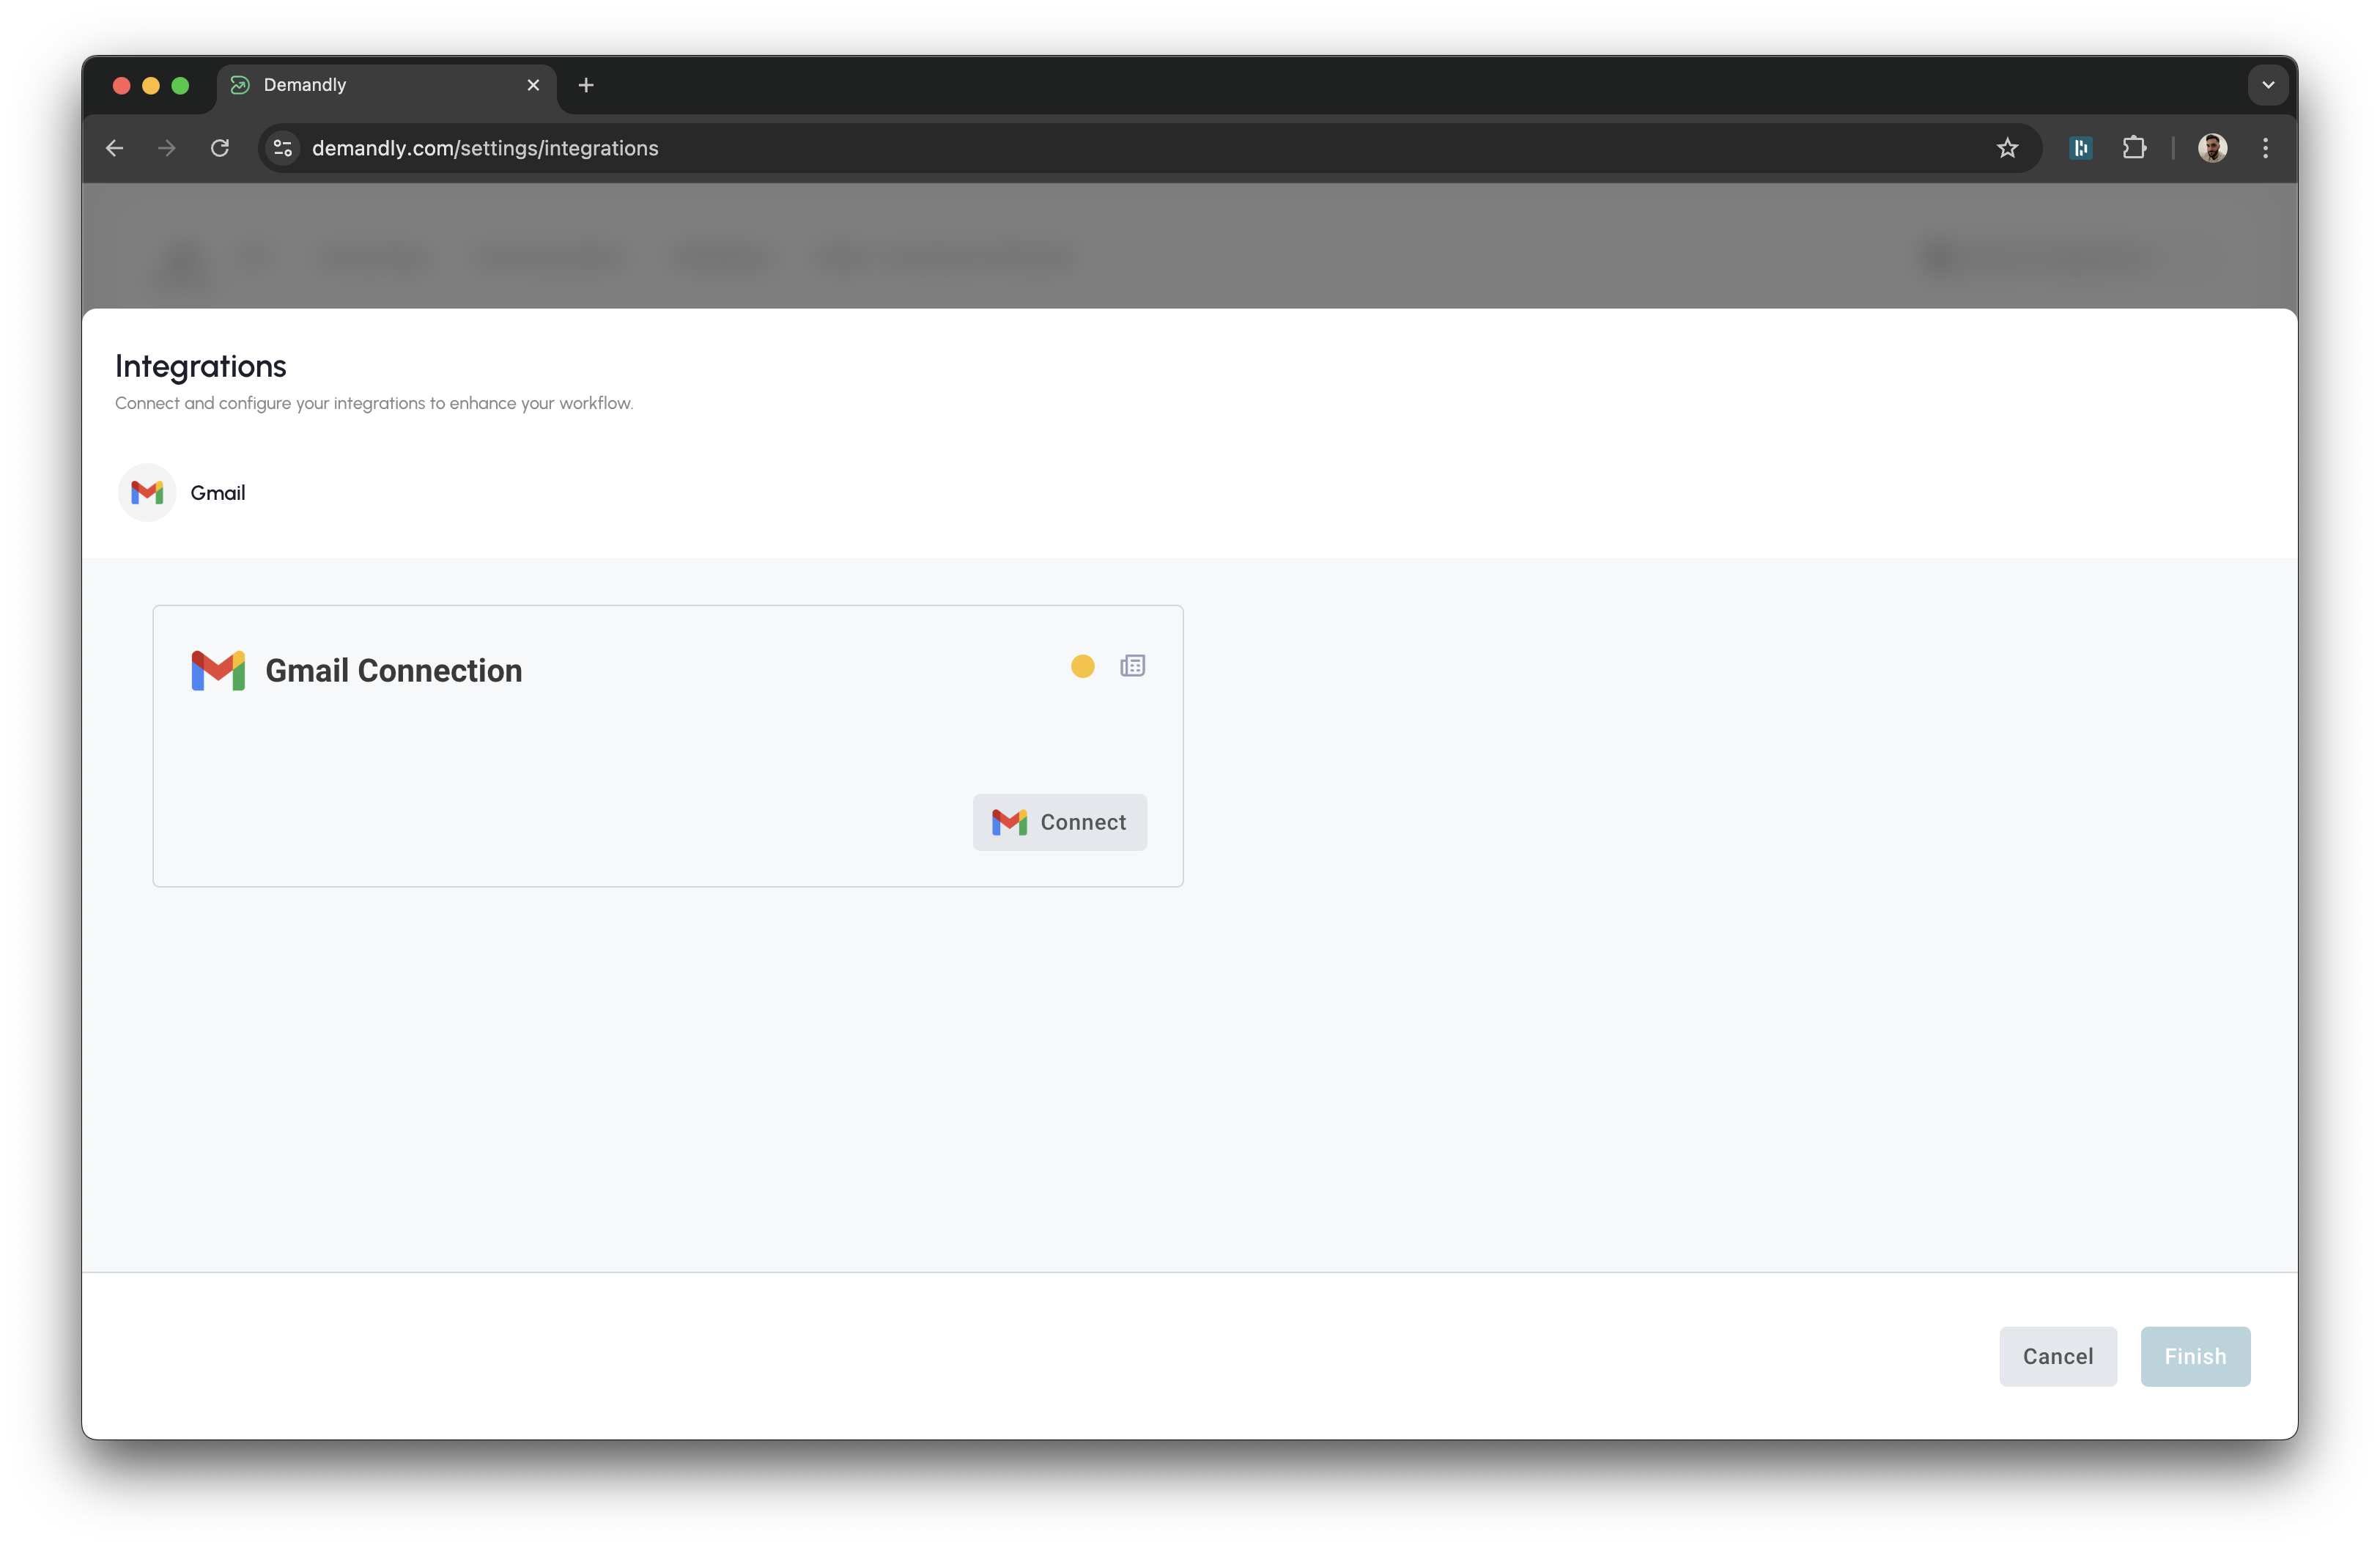
Step 1: Begin Google Authentication
On the Gmail Connection screen, you’ll see a button labeled “Connect”.
Click this button to start the authentication process with your Google account.
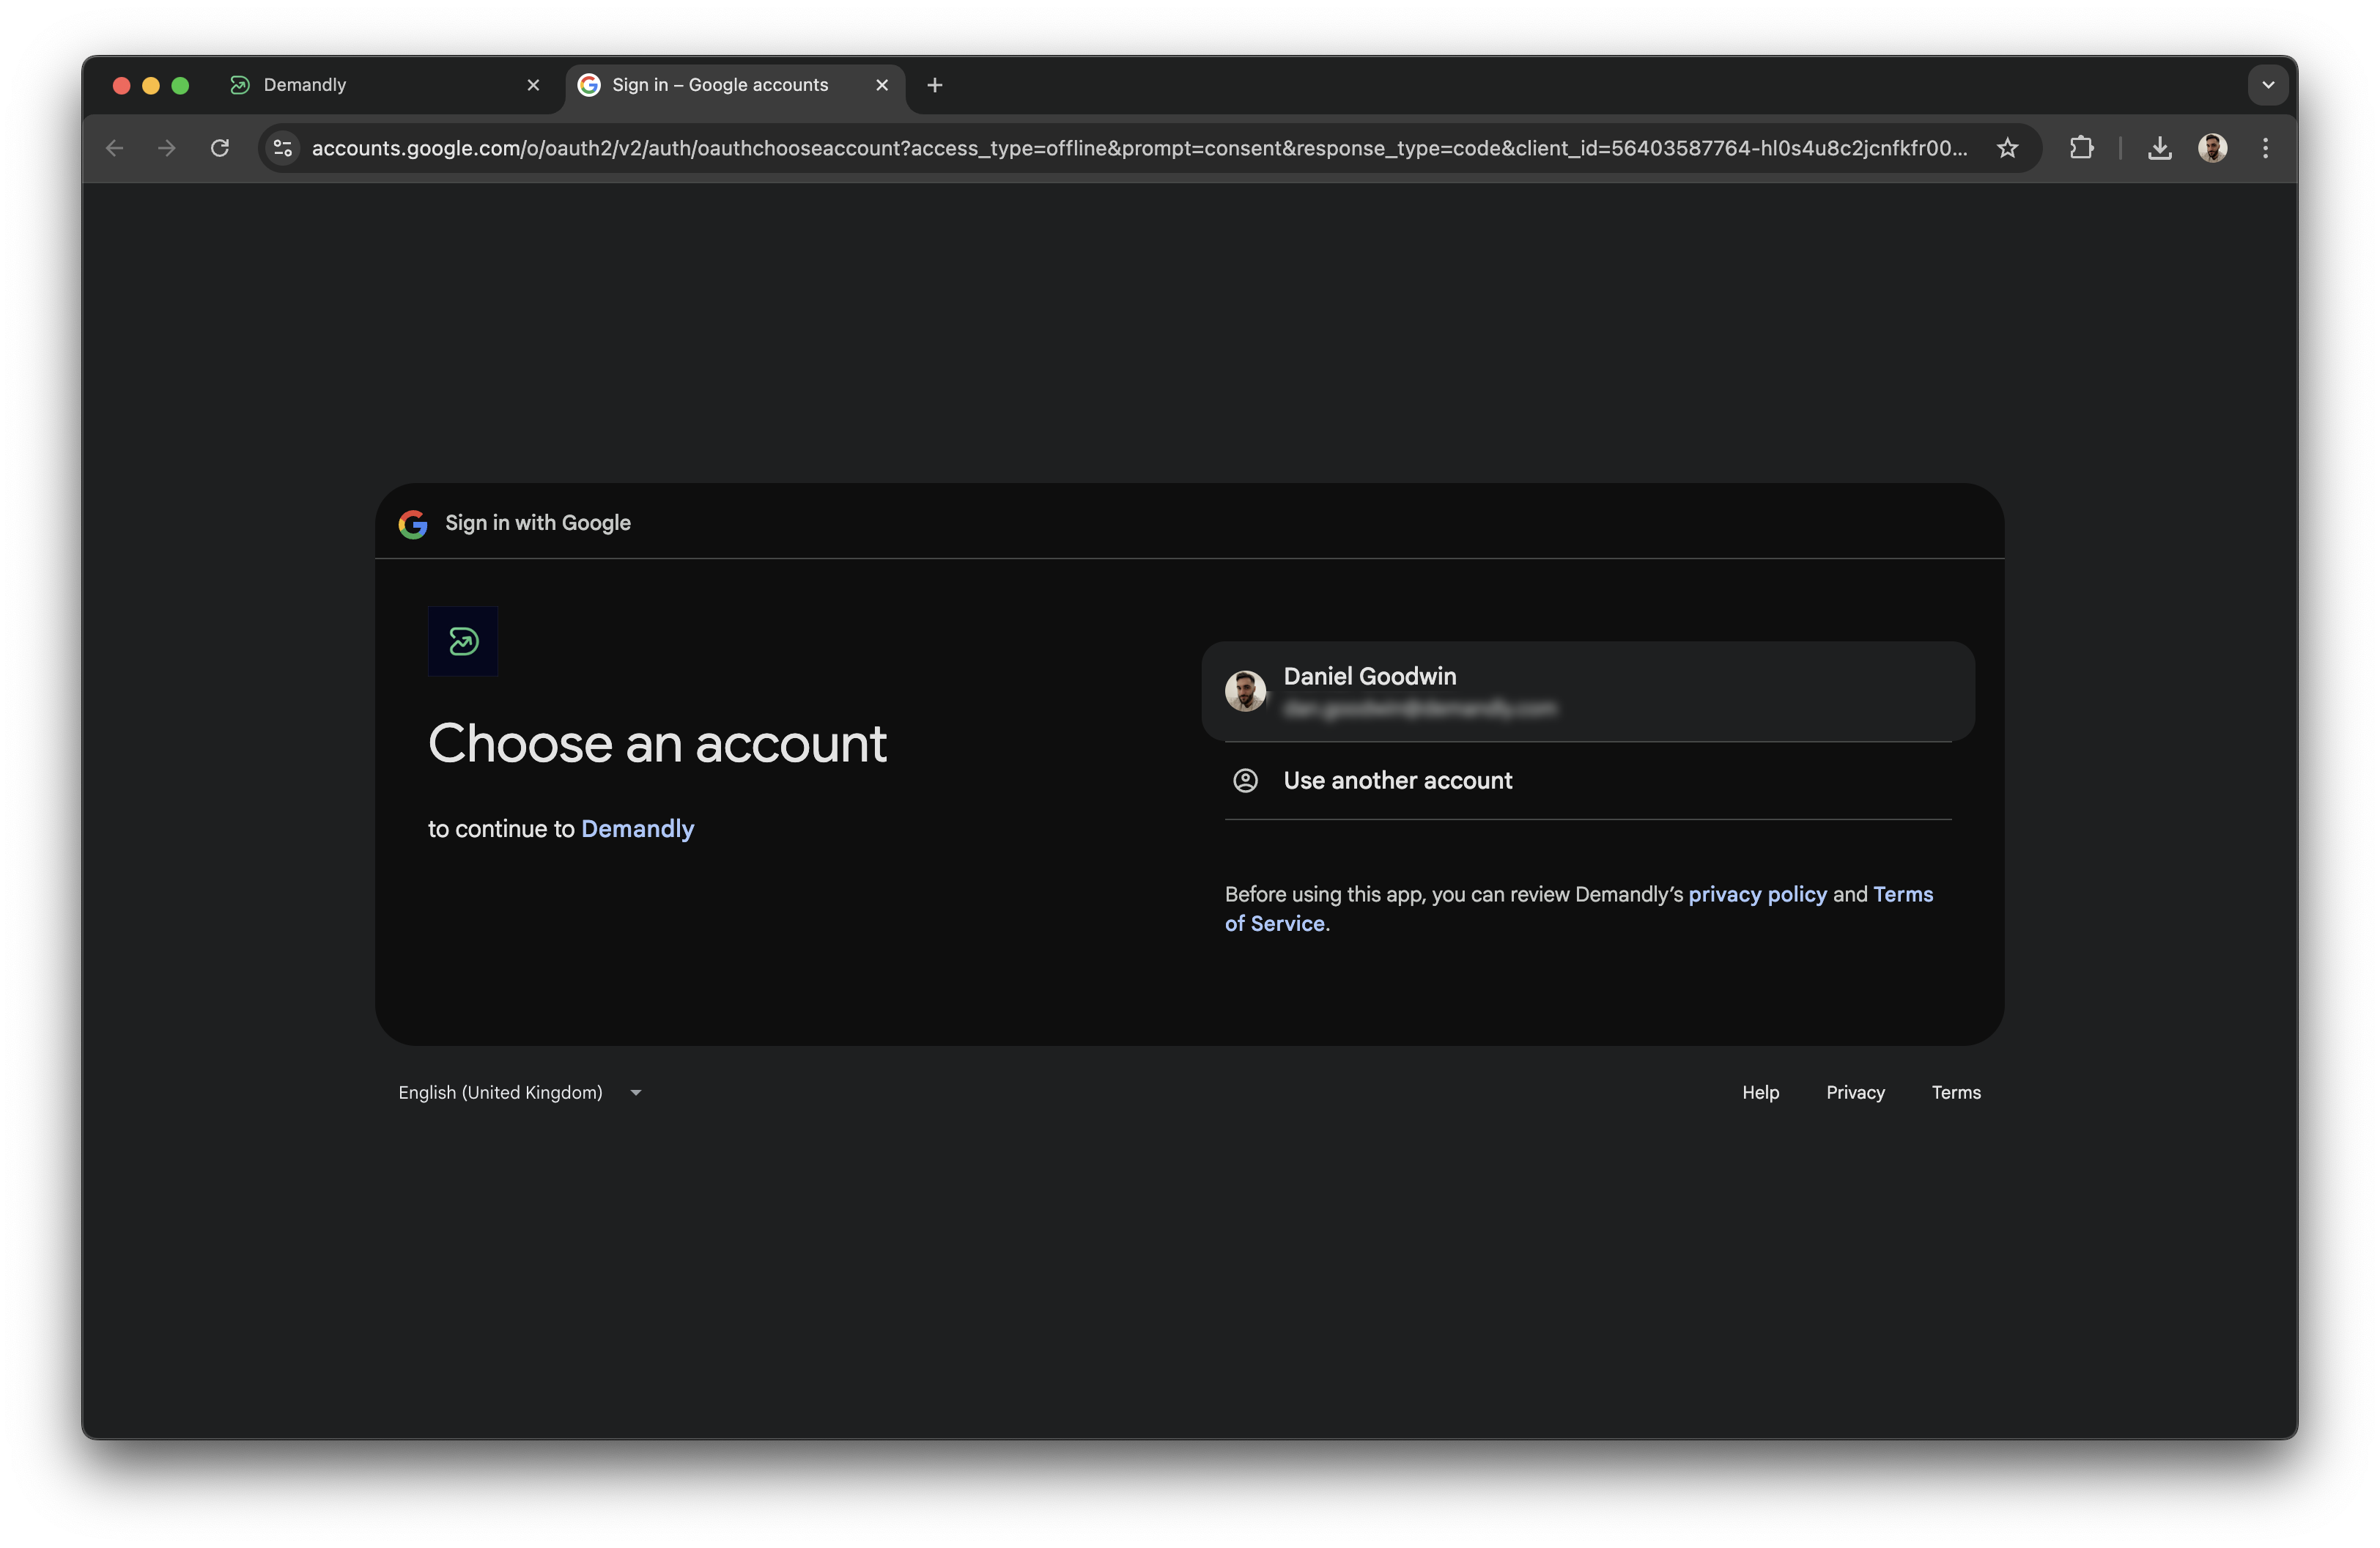
Step 2: Select Your Google Account
A new window will open showing Google’s account selection screen:
-
If your account appears in the list, click on it
-
If you don’t see the account you want to use, click “Use another account” and enter your credentials
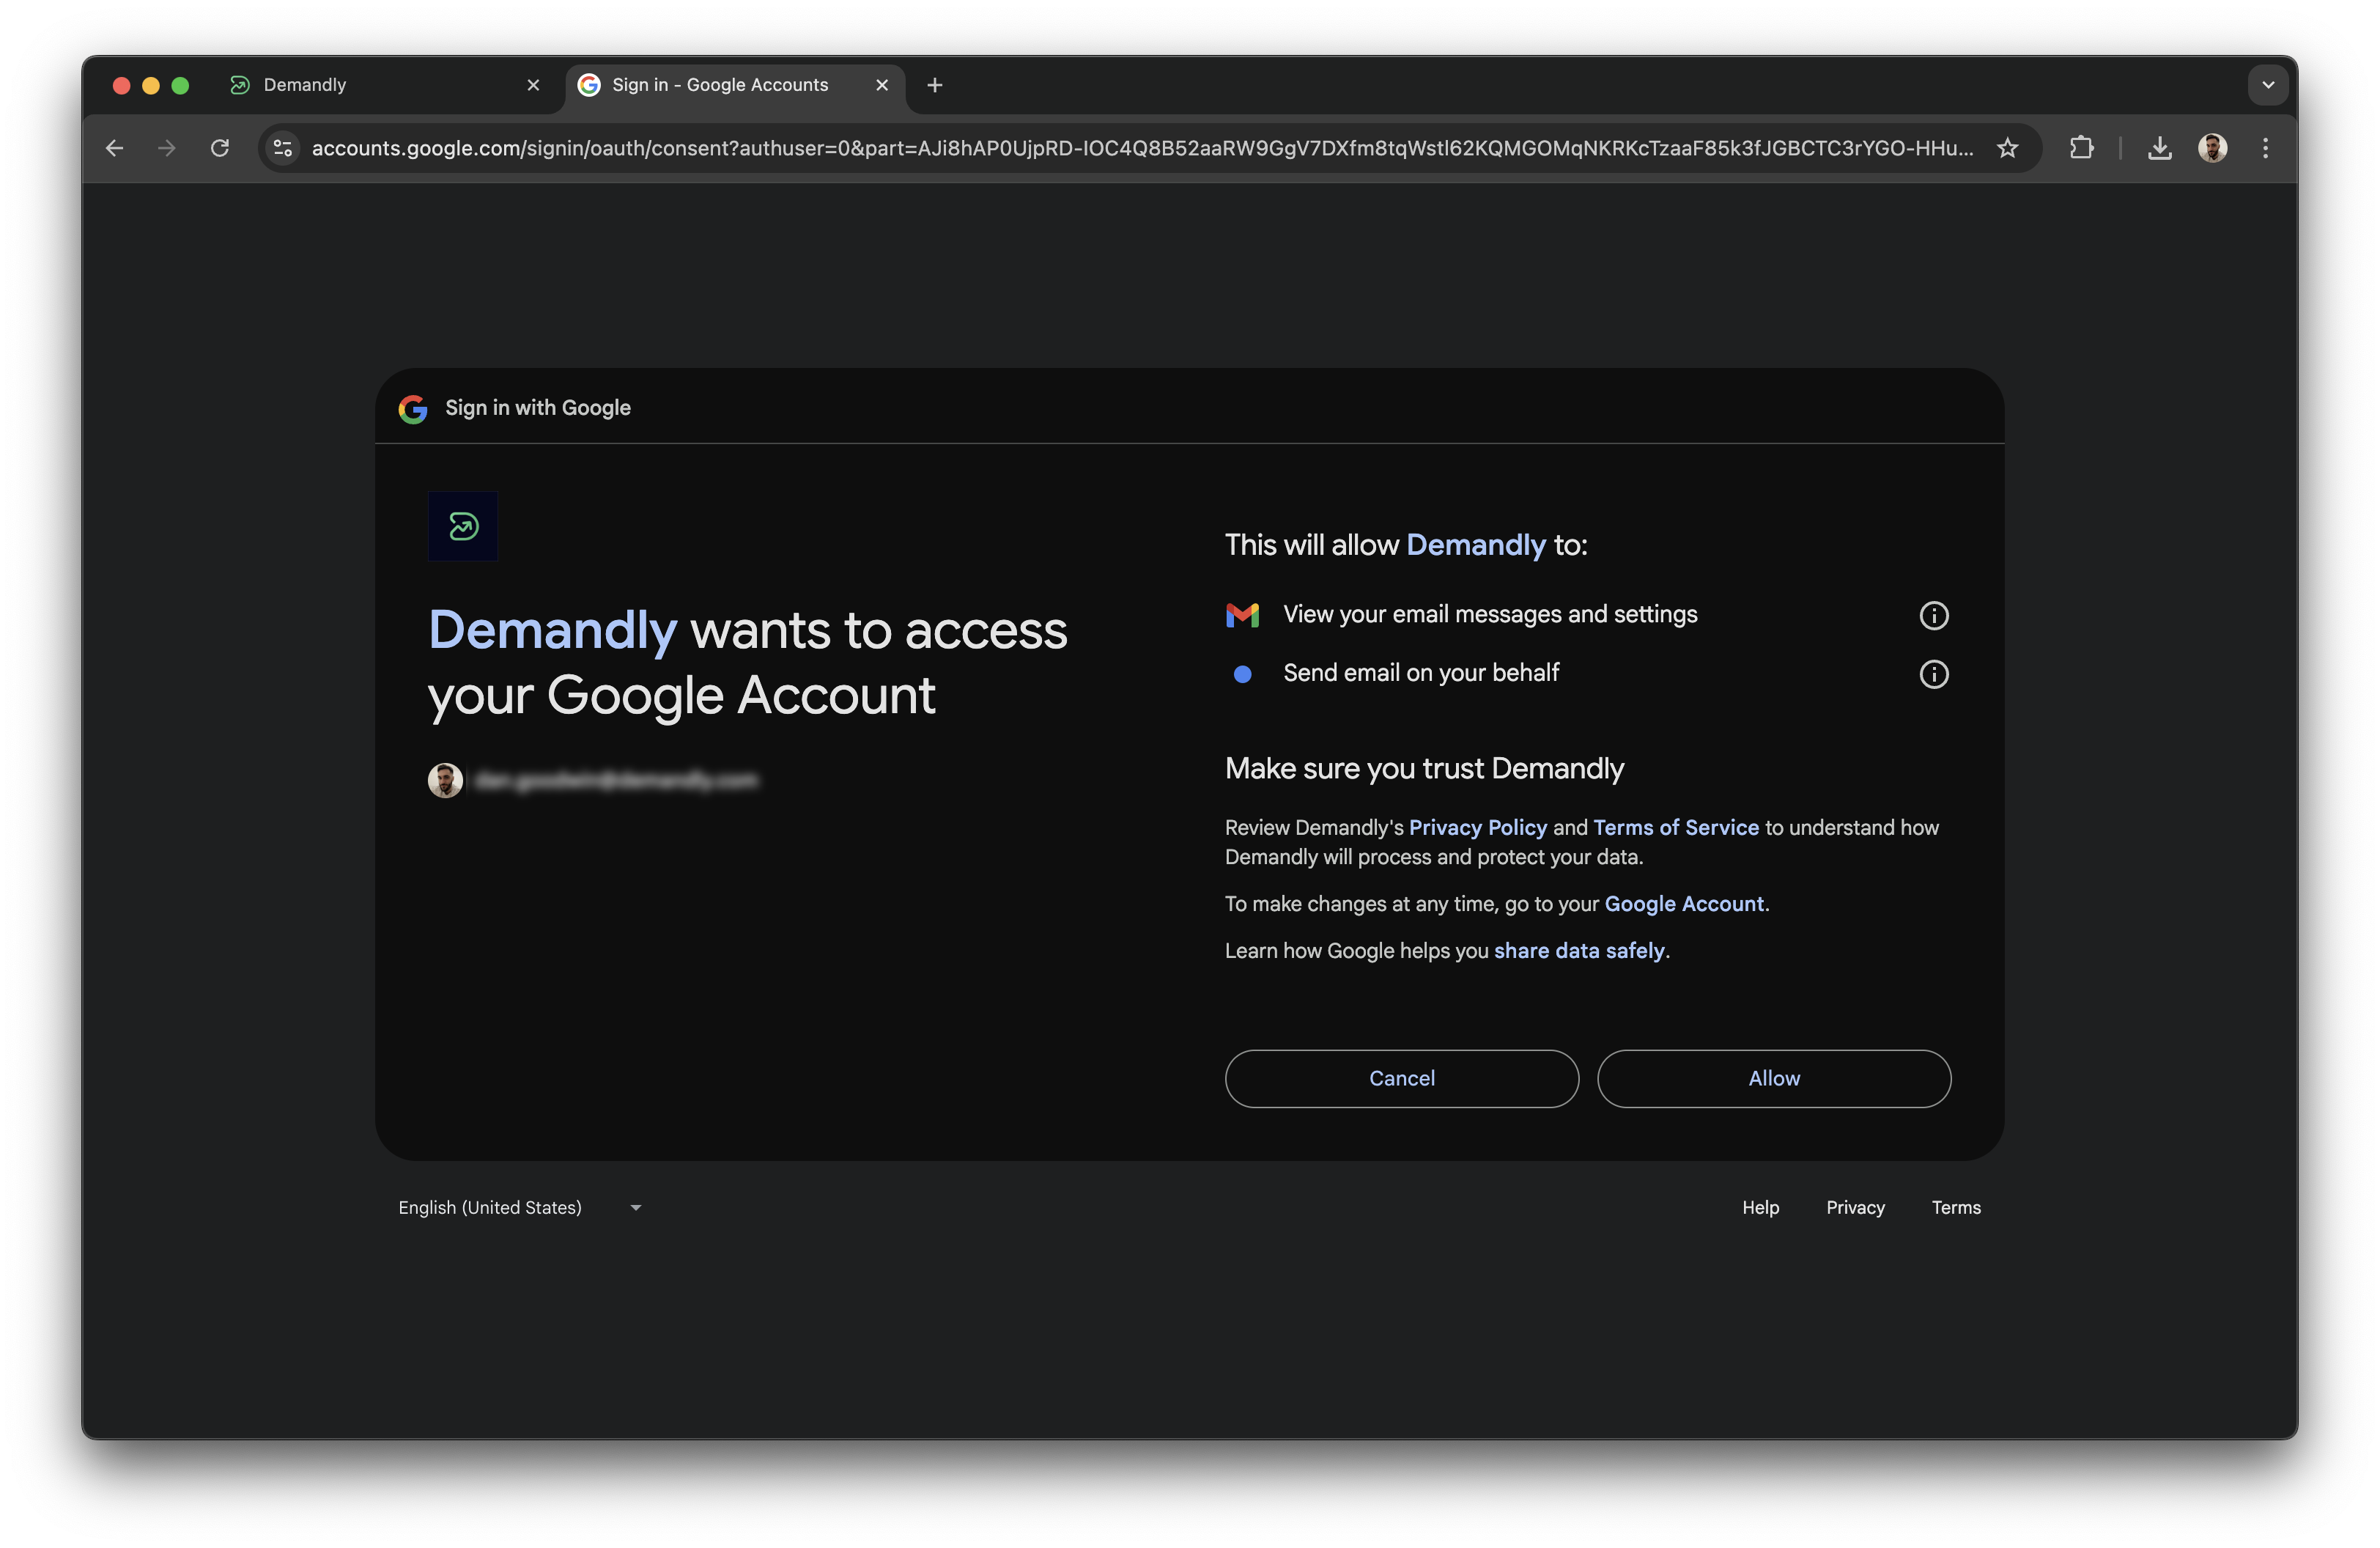
Step 3: Approve Access Permissions
After selecting your account, Google will ask for your permission to allow Demandly to access your Gmail account. You’ll see exactly what Demandly is requesting access to:
-
View your email messages and settings
-
Send email on your behalf
Review these permissions and click the “Allow” button in the bottom right corner.
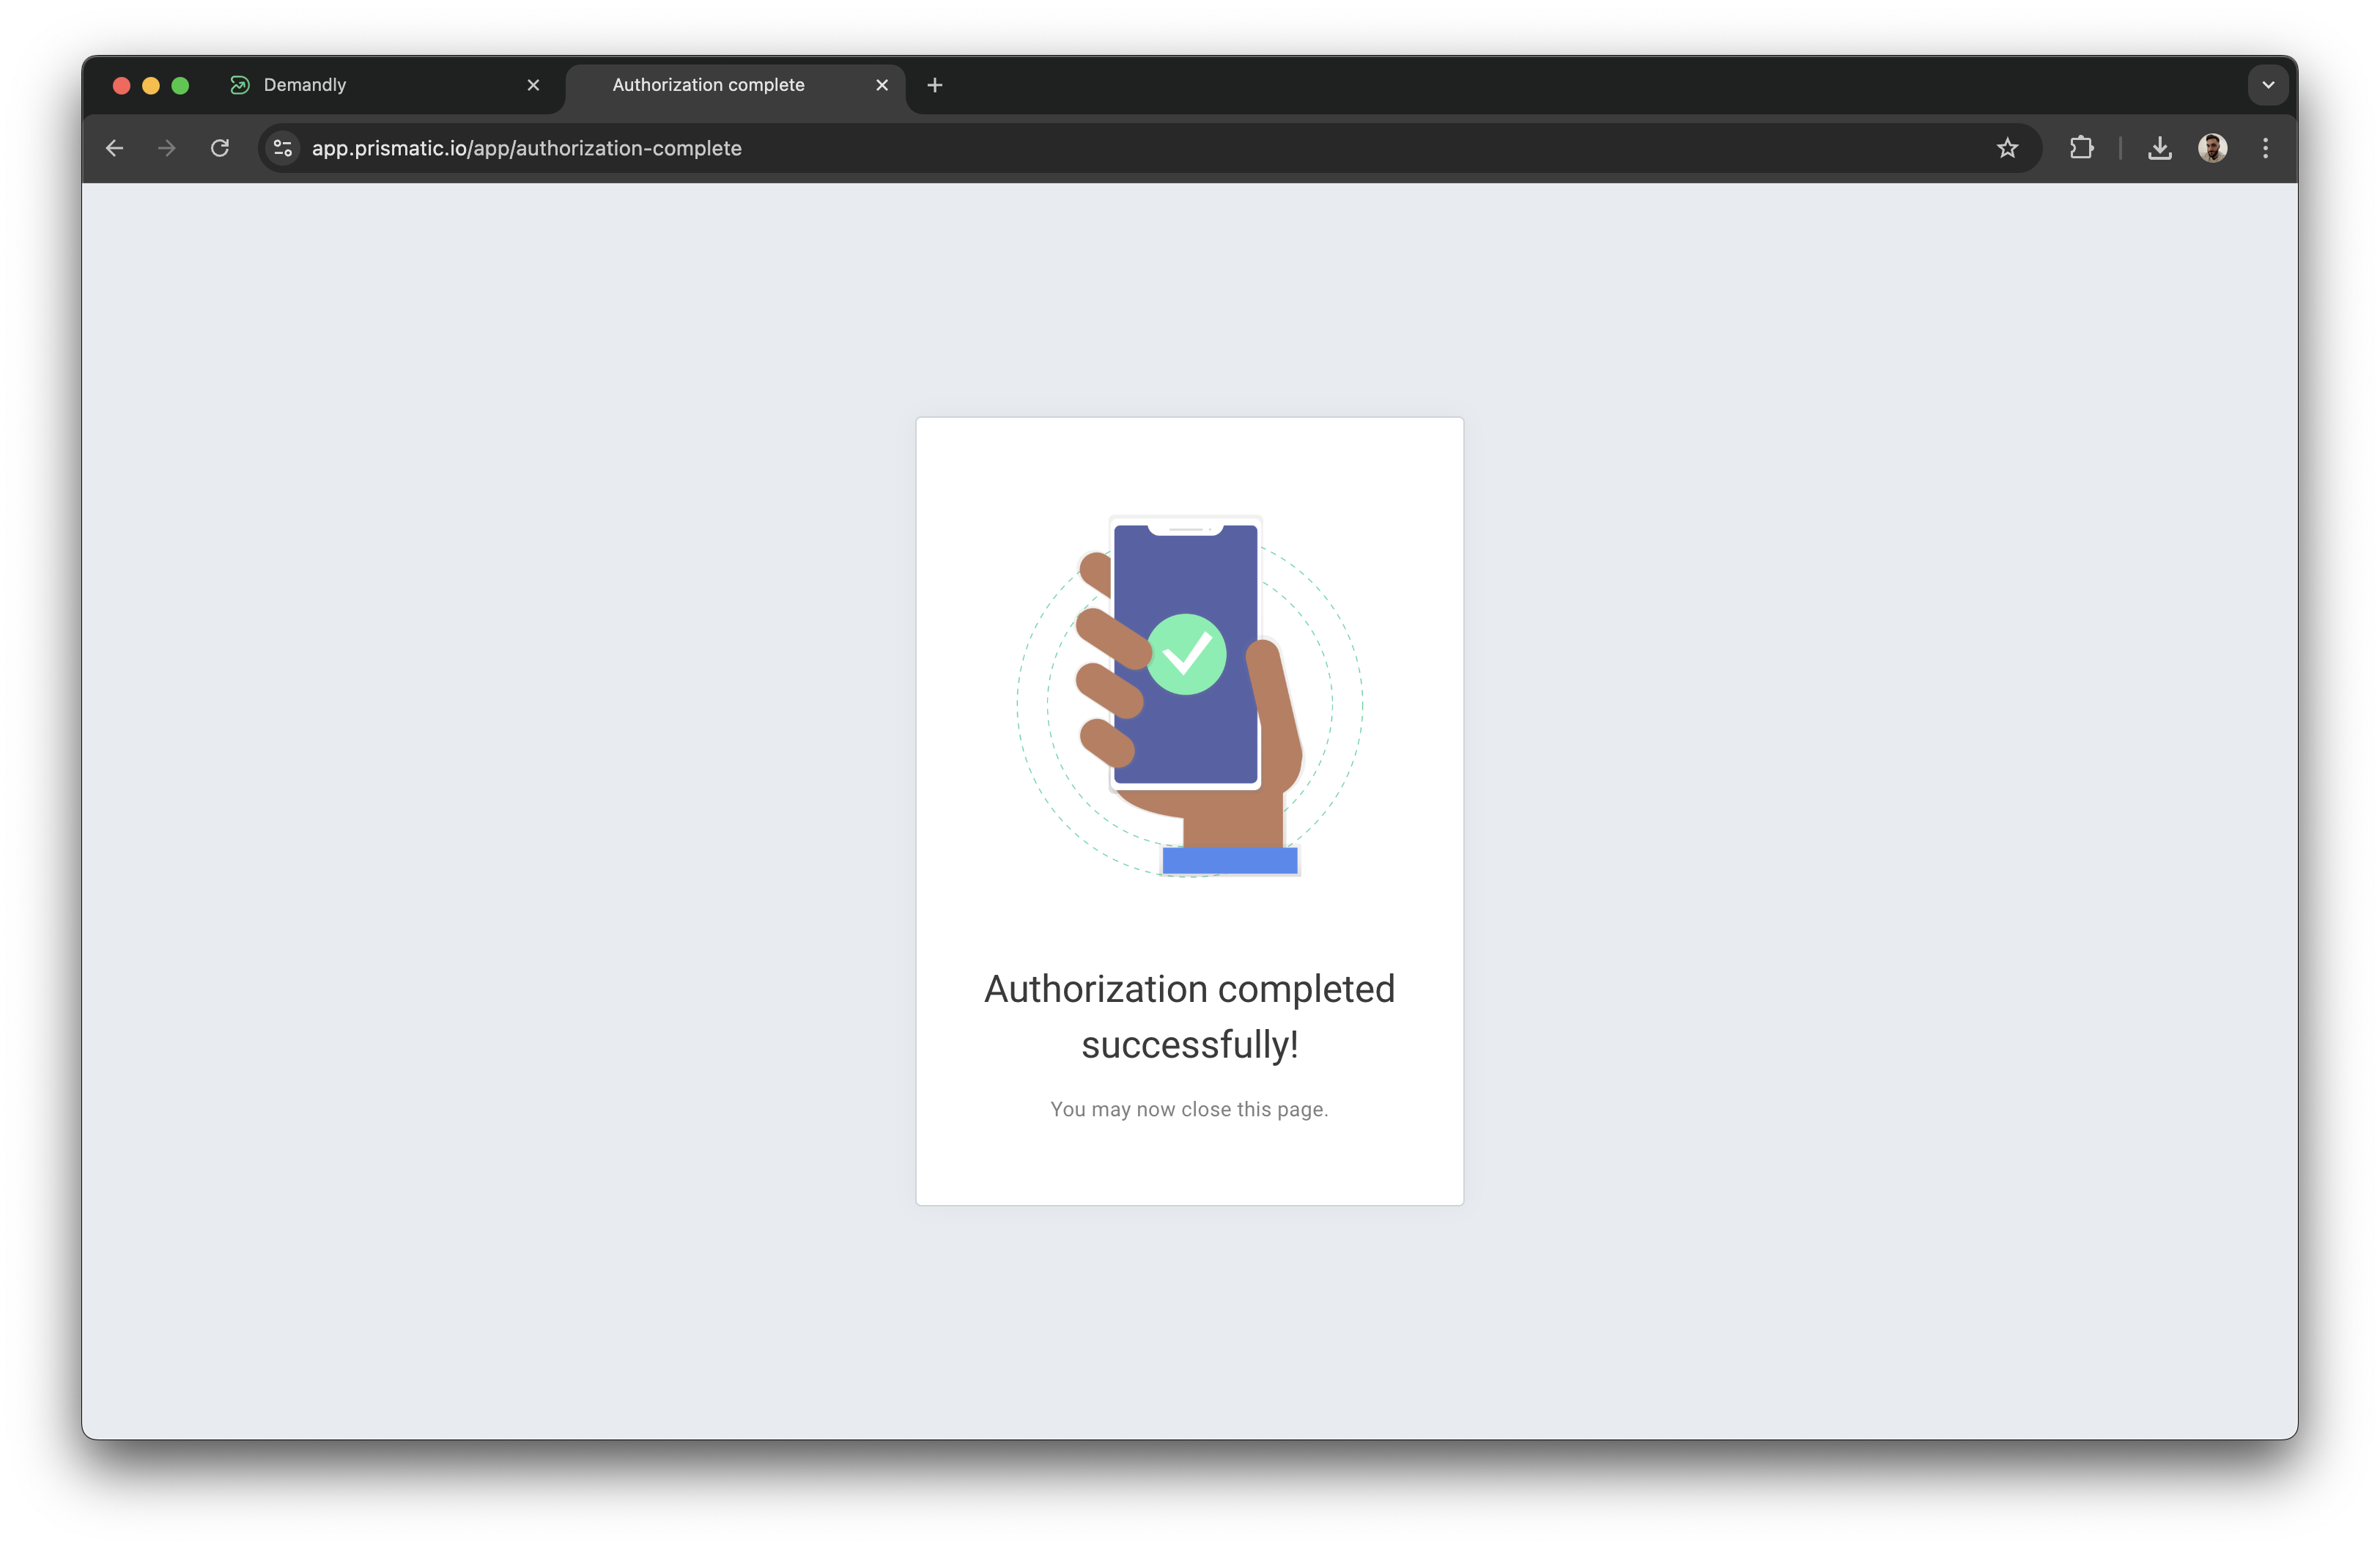
Step 4: Complete Authorization
Once you’ve approved access, you’ll see an “Authorization completed successfully” message. You can close this tab and return to Demandly.
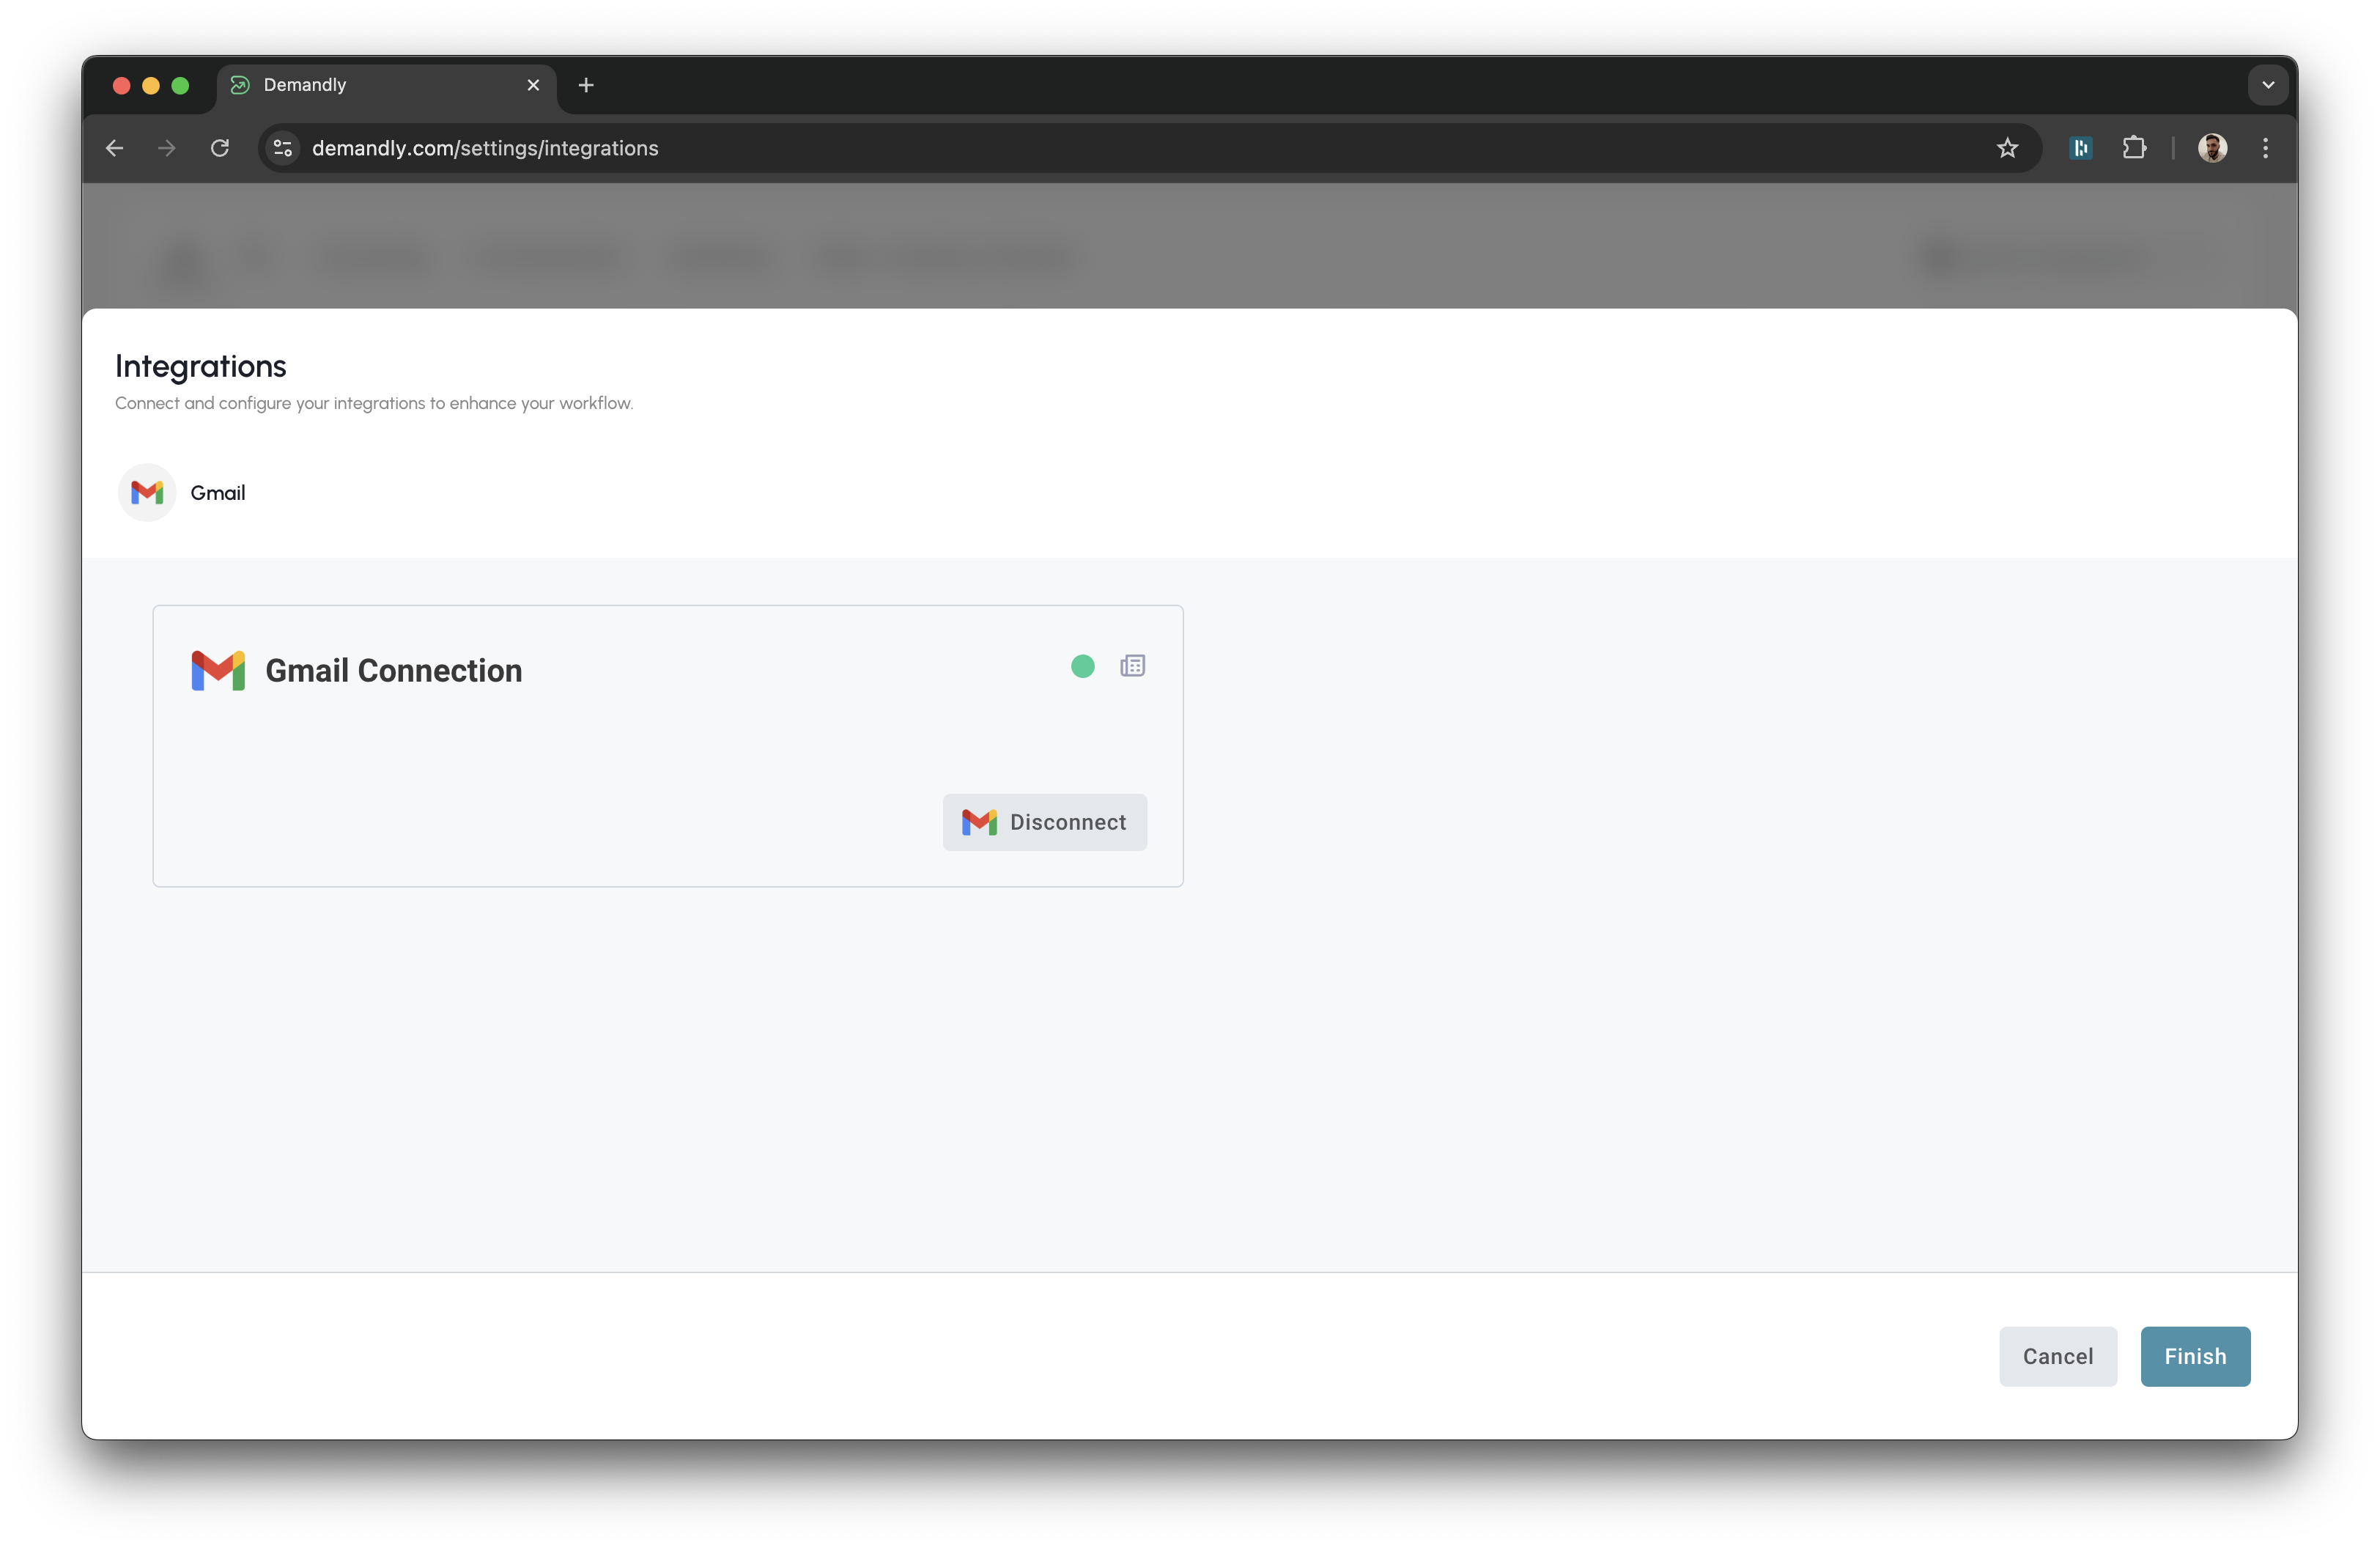
Step 5: Verify Your Integration
You’ll now see a confirmation screen showing your Gmail integration status as “Running”. This confirms everything is working properly. Close this window by clicking the X in the top right corner to return to your integrations page.
That’s it! Your Demandly account is now successfully connected to your Gmail account.
If you need to make changes to this integration later, you can return to the integrations page and reconfigure or deactivate it as needed.
Need Help?
If you’re experiencing issues with your integration:
- Contact our support team at support@demandly.com